
Estimated reading time: 14 minutes
Key Takeaways
- Decide on the printing process, material, and units before designing to avoid scale and constraint issues.
- Follow a design-for-printability checklist covering wall thickness, clearances, supports, and hollowing to prevent costly rework.
- Run geometry integrity checks so the mesh is watertight, manifold, and correctly oriented prior to export.
- Export with optimized STL/3MF settings, then validate with a rigorous pre-submission QA checklist.
- If a service rejects your file, map the error code to a targeted fix—thin walls, non-manifold edges, or format issues—and re-upload quickly.
Table of Contents
I learned the hard way that if you don’t prepare model for online 3D printing properly, the platform will happily reject your file at 2 a.m., right before your deadline. The fix is not guesswork. You need a method. In this guide, I’ll show you exactly how I export STL for printing, fix 3D model for printing issues, and run a 3D model checklist that catches the sneaky stuff services flag.
Online services most often reject models for thin walls, non-manifold geometry, and wrong units. I’ve gotten all three wrong at some point, and it cost me time and re-upload fees (source). So here’s the promise: I’ll walk you through picking the right process and material, cleaning the geometry, dialing export settings, and finishing with a printable 3D model checklist that actually works.
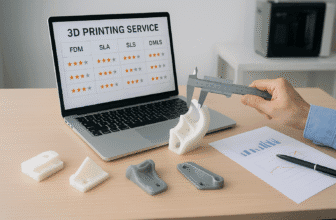
Choose process and material before you prepare model for online 3D printing

I used to model first and choose material later. That approach burned me. The printing process and material set your design constraints from day one, so decide them before you even sketch a line (source; source).
Here are the common processes I consider (see our 3D printer buying guide for a deeper dive into machine capabilities):
- FDM/FFF: Great for durable prototypes and functional parts.
- SLA/DLP: Best for smooth surfaces and fine details.
- SLS/MJF: Strong, isotropic parts, great for complex geometry.
- PolyJet: Multi-material, super fine detail.
- Binder jet/full-color: Color prints and gypsum-like parts.
Each process comes with practical limits you must design around:
- Minimum wall thickness: As a rule of thumb, I avoid going below about 0.8 mm for FDM and 0.5 mm for SLA for unsupported walls, though I always check the service’s spec sheet first (source).
- Minimum feature size and text: Embossed and debossed features need to be chunky enough to print. I aim for clear strokes and at least 0.3–0.5 mm depth depending on process, but I validate against the chosen service’s guide (source).
- Overhangs and supports: FDM overhangs beyond 45° often need support. SLA supports can scar the surface where they touch. I decide orientation early to minimize support marks (source).
- Maximum build volume: If your design is close to the machine’s limit, plan a split-and-join strategy. And always check whether the service lists build volume in mm or inches (source). If you’re weighing whether to print in-house or outsource, our comparison of local vs online 3D printing lays out the cost and lead-time trade-offs.
- Texture/color capabilities: If I need color or texture, I move to OBJ/MTL or 3MF instead of STL.
- Material requirements: Heat, chemical resistance, and flexibility vary. This choice informs thickness, fillets, and clearances.
One more foundational move: set your document units to millimeters at the start. I do this in every tool, every time. Millimeters are the de facto standard and drastically reduce the risk of scale errors when you upload (source). It’s the simplest way to prepare model for online 3D printing without nasty surprises.
Design-for-printability essentials
There’s design, and then there’s design-for-printability. I keep a sticky note by my monitor with these reminders because they save me hours later.
- Wall thickness: Zero-thickness surfaces are not printable. Thin knife-edges chip or vanish. I thicken fragile areas—ears, bosses, pins—until they comfortably exceed the process’s minimums (source).
- Emboss/deboss and text: For clear text on SLA, I aim for at least 0.8 mm stroke width and generous depth. For FDM, I go larger, often 1.0 mm or more for legibility.
- Clearances for assemblies: Don’t assume post-processing will “free” parts. I bake in:
- SLA: 0.2–0.5 mm
- SLS: 0.4–0.8 mm
- FDM: 0.5–1.0 mm
- And then I confirm with the target service’s spec page for the final numbers.
- Hollowing: Hollowing reduces cost and weight. But add escape/drain holes sized per material—SLA often needs ~3 mm diameter as a starting point. I place them where they’re easy to sand or hide (source).
- Overhangs and supports: I orient parts to hide support contact on non-cosmetic faces. I add a “do not mar” note for techs on critical surfaces.
- Merging vs separating bodies: If two bodies must be one, I perform a boolean union. If they’re meant to be independent, I split them into separate shells. This is a small step that helps fix 3D model for printing later.
I treat this section like a mini 3D model checklist. If it’s in the design, it’s in spec. If not, I fix it before I refine.
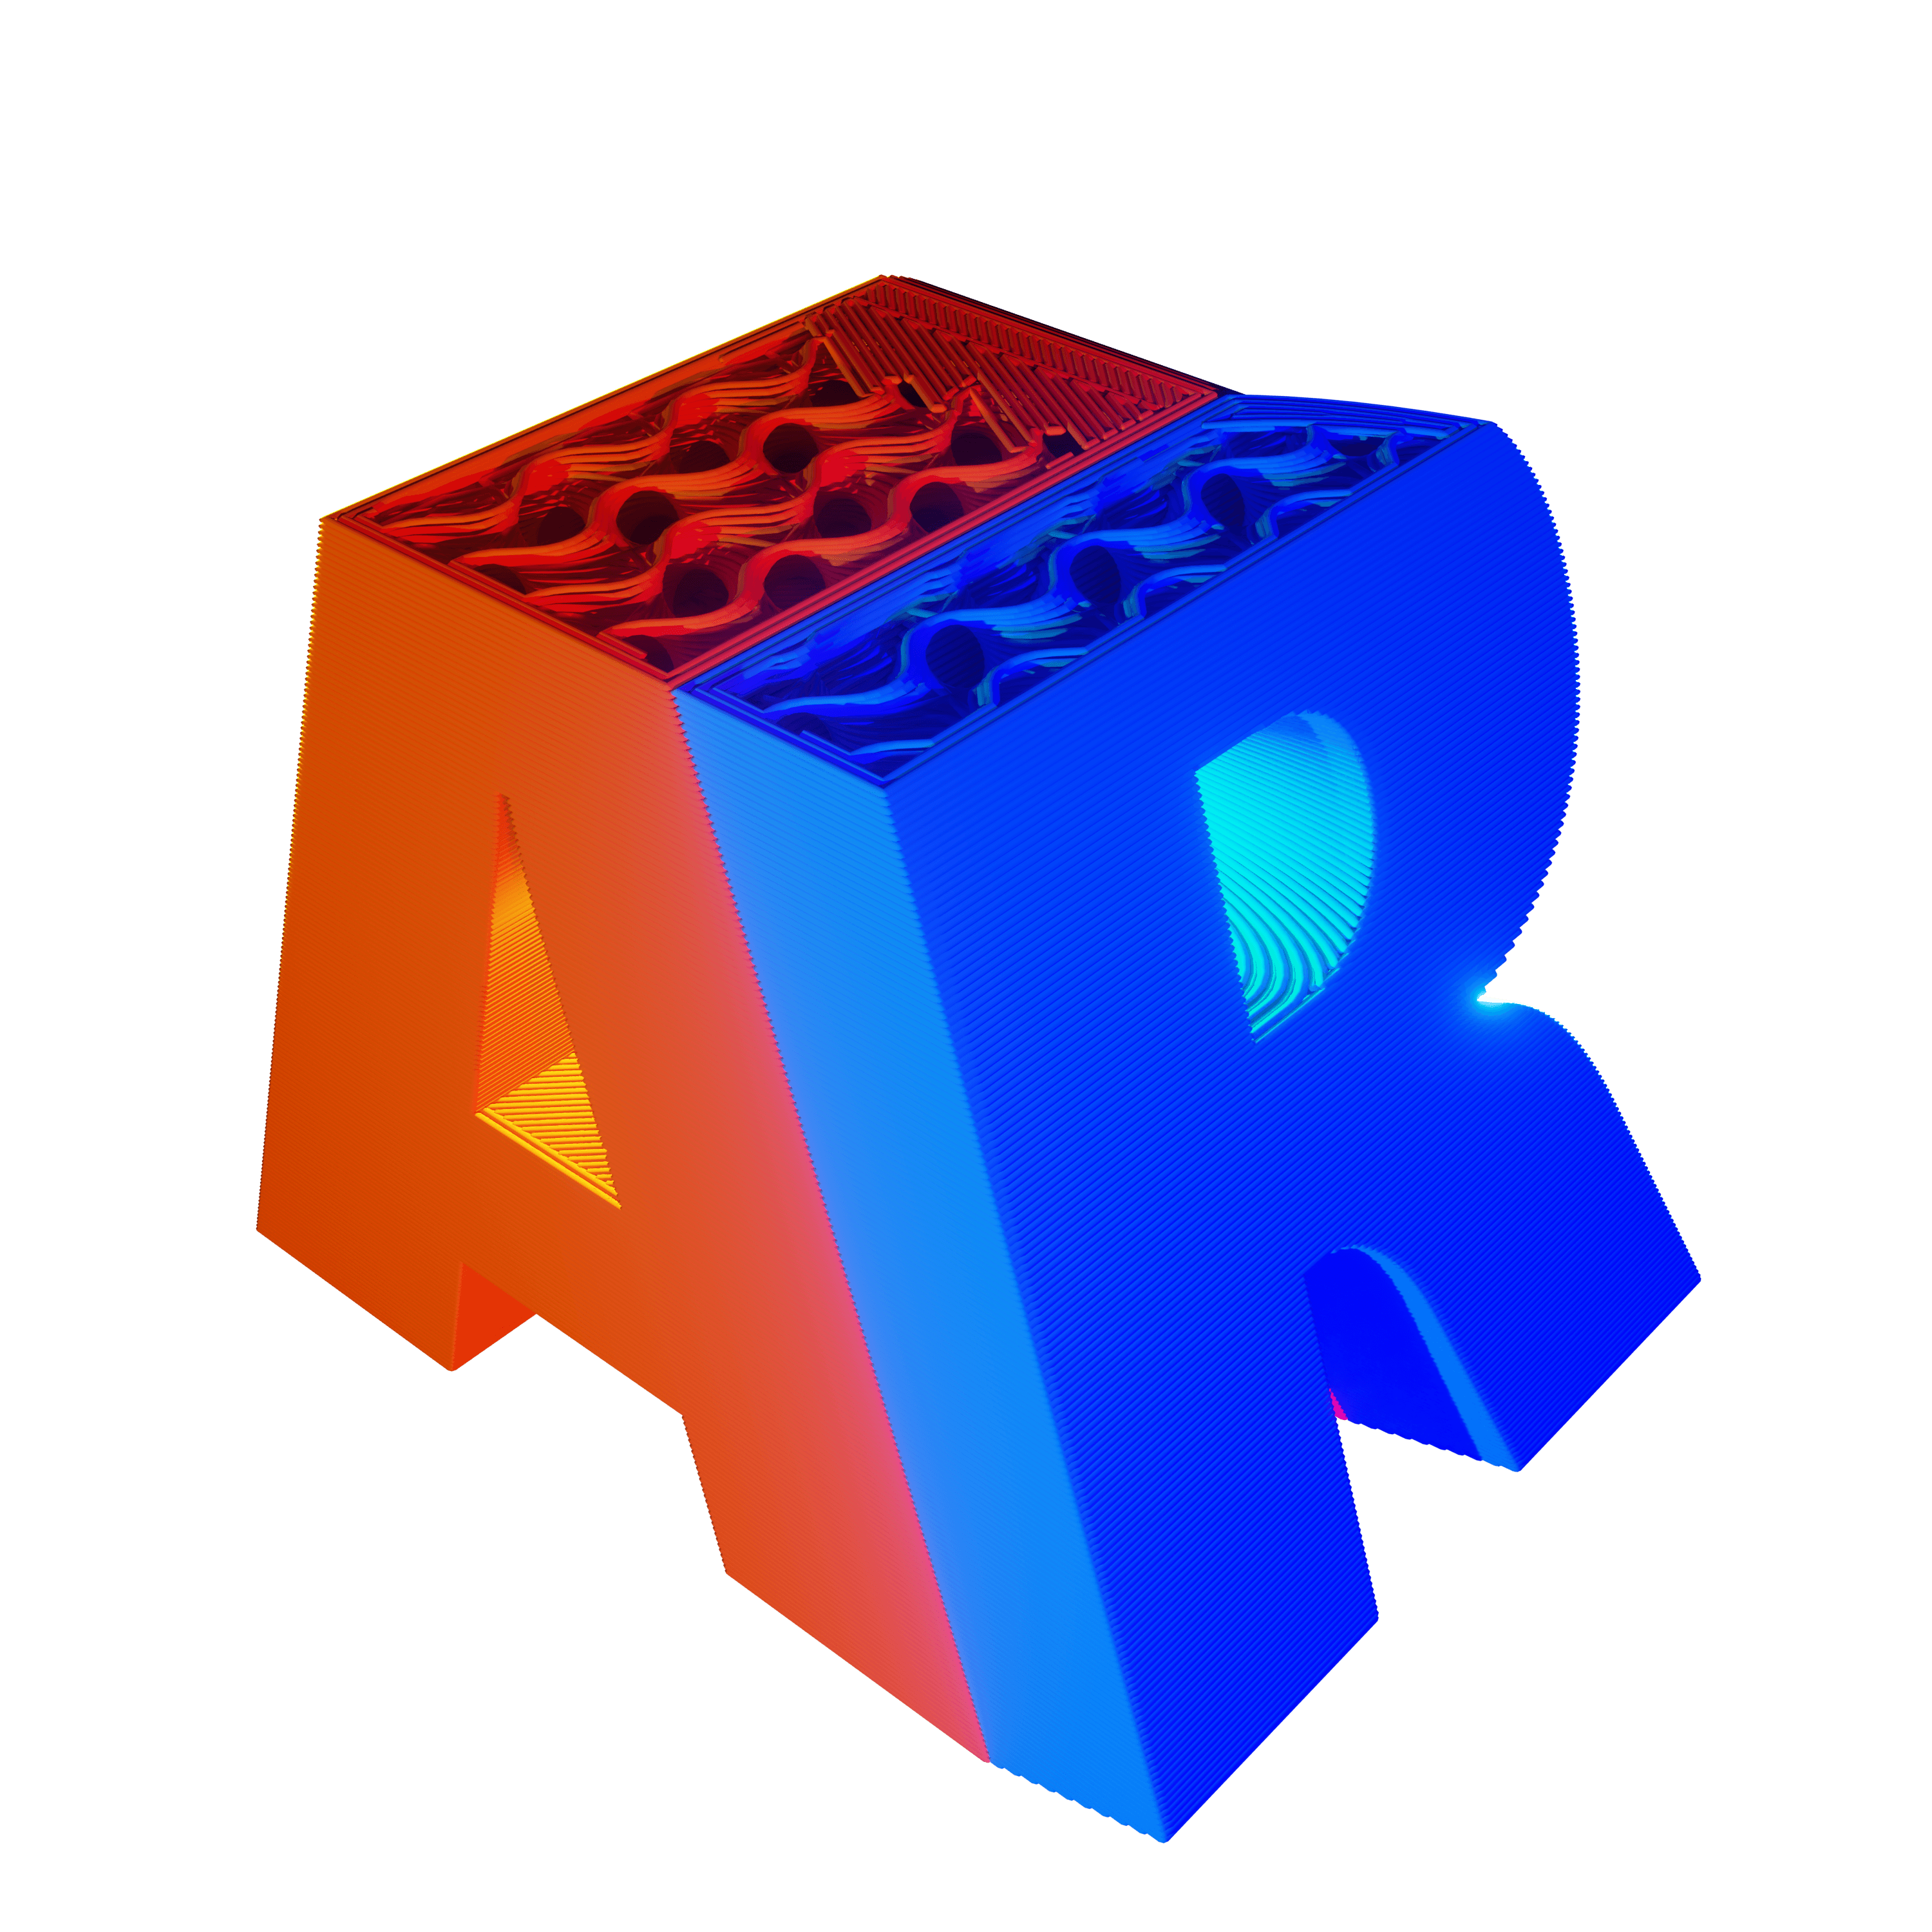
Geometry integrity checks to fix 3D model for printing

The sexiest model in the world won’t print if the mesh is broken. This is where I roll up my sleeves to fix 3D model for printing issues that trigger instant rejections.
- Watertight/manifold: A printable mesh is closed. No holes, no self-intersections, no non-manifold edges, and no internal faces. That’s the definition I hold myself to (source).
- Normals: All face normals must point outward. Inverted normals confuse slicers. I recalc normals as a ritual step.
- Shells: One closed shell per part, unless I’m intentionally printing an assembly. I remove duplicated vertices, overlapping faces, and zero-thickness surfaces.
My favorite tools and quick workflows:
- Blender: 3D Print Toolbox → “Check All.” Then use “Clean Up” tools. I also run “Merge by Distance” and “Recalculate Outside.”
- Meshmixer: Analysis → Inspector repairs holes and common non-manifold errors. For messy scans, “Make Solid” creates a printable shell.
- Fusion 360: Mesh workspace → Repair/Heal. Combine → Join for boolean unions. If you’re still getting comfortable with Fusion, my go-to reference is this beginner’s guide to parametric design in Fusion 360.
- Netfabb/Make: Automatic repair is surprisingly reliable for edge cases.
- Slicers: PrusaSlicer or Cura will give quick manifold checks before I upload.
A mini how-to in Blender that I use weekly:
- 1) Import the model (File → Import).
- 2) Apply all modifiers. Don’t leave Subdivision or Mirror unapplied.
- 3) Open the 3D Print Toolbox. Click “Check All.” Fix flagged issues.
- 4) Select the mesh, Shift+N to Recalculate Outside.
- 5) Export the cleaned mesh and move on to export STL for printing.
Once I’ve cleaned and confirmed the mesh, I’m finally ready to prepare model for online 3D printing with confidence.
Optimize and simplify for upload

Even a perfect mesh can choke an uploader if it’s bloated or misaligned. I treat this step like icing on a cake.
- Apply transformations: Freeze scale, rotation, and location. Bake procedural details into real geometry. This ensures what I see is what I export.
- Triangulate: Most services prefer triangulated meshes. I convert ngons and quads to triangles before export.
- Balance polygon count: Detail is great, but massive files slow uploads and checks. As a rule, I keep SLA meshes under a few million faces unless absolutely necessary.
- Center and orient: Center to origin and align the part upright in world coordinates. It’s a tiny step that prevents weird rotations after upload.
- Remove internal geometry: Hidden shells and internal faces can inflate cost or break checks. I delete them before I export STL for printing.
This polish stage makes the next part smooth and predictable.
Correct export settings: export STL for printing
File format is strategy, not an afterthought. I pick the format that matches the job and then export STL for printing with precise settings.
Format overview:
- STL: The standard for single-color solids. Fast and widely supported.
- OBJ/MTL + textures: Color and textures included. Keep everything in one folder.
- 3MF: Modern, compact, and can include units, materials, and color metadata. If you need a deeper dive, the 3MF Consortium explains the format’s capabilities well here.
STL settings I actually use:
- Binary STL: It’s smaller and less error-prone than ASCII (source).
- Units: I model in mm. If the format can’t embed units, I include “_mm” in the filename (source).
- Tessellation tolerance (chord height): 0.01–0.05 mm for SLA, and 0.05–0.2 mm for FDM/SLS. This avoids visible faceting without creating monster files (source).
- Angle deviation: 1°–5° works for most parts. If you’re unsure how these numbers tie back to surface fidelity, our 3D printer resolution guide breaks down what really matters.
- Normals: Recalculate before export. Ensure only intended bodies are included.
Software-specific exports I rely on:
- Fusion 360: Make → 3D Print. Choose “Refinement,” set chord height, confirm mm, then export STL or 3MF.
- SolidWorks: Save As → STL → Options. Set deviation and angle. Check “Save as Binary.”
- Blender: File → Export → STL. Apply modifiers, enable “Selection Only,” set Scale 1.0, and pick Forward/Up axes that match your service.
- Tinkercad: Export → .STL. Confirm the design is in mm.
OBJ and 3MF notes:
- Keep MTL and textures with the OBJ in the same folder.
- Zip OBJ+MTL+textures before upload to keep paths intact.
- Always re-import the exported file into your software to validate the scale and orientation.
Precisely controlled exports make it far easier to prepare model for online 3D printing and avoid do-overs.
Pre-submission QA: 3D model checklist
Before I upload, I run a 3D model checklist that I’ve refined over dozens of projects. It’s quick and brutal, and it saves me from rejections. These items are adapted from leading service and lab guides (source; source; source).
- Verify units are in millimeters and overall dimensions are correct.
- Confirm the chosen process and material, including build volume.
- Check wall and feature thickness against the service minimums.
- Validate clearances for assemblies per process.
- Ensure the model is watertight/manifold. No self-intersections.
- Confirm all normals face outward. No inverted faces.
- One closed shell per part. Remove internal geometry and duplicates.
- Orient upright, center to origin, and verify part count.
- File format chosen correctly; settings optimized for the process.
- File size within service limits. Zip if needed.
- Include technician notes: critical surfaces, tolerances, preferred orientation.
When I stick to this 3D model checklist, I prepare model for online 3D printing with far fewer headaches.
Uploading to an online service
The moment of truth. Upload time. Most services run automatic checks the second your file hits their servers. Expect feedback on thin walls, missing escape holes, and scale problems. Don’t panic; just adjust and re-upload. For a step-by-step walkthrough of the whole ordering pipeline, check out our 7-step guide to using an online 3D printing service.
Material and finish selection will shift your price and lead time. A polished SLA part costs more than a quick FDM prototype. For critical appearance parts, I specify “do not support on this face” in the notes, and I attach a screenshot. That little cue can save the finish.
For multi-part uploads, I name files with clear suffixes: “widget_base,” “widget_cap,” “widget_fasteners.” If parts are assembled, I confirm whether the service wants a single multi-shell file or separate uploads.
Before I check out, I confirm lead time, tolerances, and QA policies. It’s a small but vital step to prepare model for online 3D printing without schedule surprises. Need help vetting suppliers? Our checklist on how to choose a 3D printing service covers the red flags to watch for. And if I need to export STL for printing again after tweaks, I re-run the checklist.
Common pitfalls and prevention
I’ve made all of these mistakes. Here’s how I prevent them now.
- Wrong units: I always re-import the exported file into a new scene and measure it. This catches scaling disasters immediately.
- Thin walls or unsupported pins: I thicken or change orientation, or I switch to a more suitable process/material.
- Non-manifold/self-intersecting meshes: I run a full repair workflow to fix 3D model for printing before export.
- Missing textures: I zip OBJ+MTL+textures or move to 3MF.
- Overly fine tessellation: I adjust chord height to tame file size without losing visible quality.
- Unsupported slicer supports: I follow the service’s support policy rather than my personal slicer habits.
All of these roll back into one mantra: prepare model for online 3D printing methodically, not impulsively.
Troubleshooting rejections
Even with prep, rejections happen. Here’s how I map codes to fixes fast.
- Thin walls → I thicken in CAD, re-run wall checks, re-export, and re-upload.
- Non-manifold edges → I repair in Blender or Meshmixer using the steps above, then upload again.
- Missing escape holes → I add holes per material spec, confirm diameter and location, then export.
- Incorrect format → I reconvert to STL or 3MF, ensure mm units, and compress assets if needed.
When I’m stuck, I check the service’s DFM guide and iterate. If the design fundamentally conflicts with constraints, I consider another process or material. That’s still a win because the goal is to prepare model for online 3D printing that actually ships.
Resources and extras
- Design guides:
These are the same resources I use to fix 3D model for printing problems quickly and to build my own 3D model checklist.
Conclusion
If you prepare model for online 3D printing with a plan, you’ll avoid 90% of rejections. Pick a process and material early. Design to the constraints. Repair your mesh. Then export STL for printing—or use 3MF/OBJ when color matters—with the right tolerances and units.
Before every upload, run the 3D model checklist. It’s boring, but it’s gold. Want a head start? Download the checklist PDF and try an upload for a free automated pre-check and quote. The more you prepare model for online 3D printing up front, the faster your parts show up at your door. And the more confident you’ll feel every time you export STL for printing.
Frequently Asked Questions
Q: Why do online services often reject 3D models?
A: The most common reasons are thin walls, non-manifold geometry, and incorrect units, all of which automated checkers flag instantly.
Q: What is the fastest way to confirm my model is manifold?
A: Use repair tools like Blender’s 3D Print Toolbox or Meshmixer’s Inspector, then re-import the file into your slicer to double-check.
Q: Should I always export an STL file?
A: STL is ideal for single-color solids, but choose OBJ or 3MF if you need color, textures, or embedded metadata like units and materials.
Q: How can I prevent unit-related scale errors?
A: Model in millimeters, include “_mm” in the filename when exporting formats that don’t embed units, and re-import the exported file to verify size.
Q: What tolerance should I use for chord height when exporting STL?
A: For high-detail processes like SLA, use 0.01–0.05 mm; for FDM or SLS, 0.05–0.2 mm balances file size with surface quality.