 TreiD
TreiD
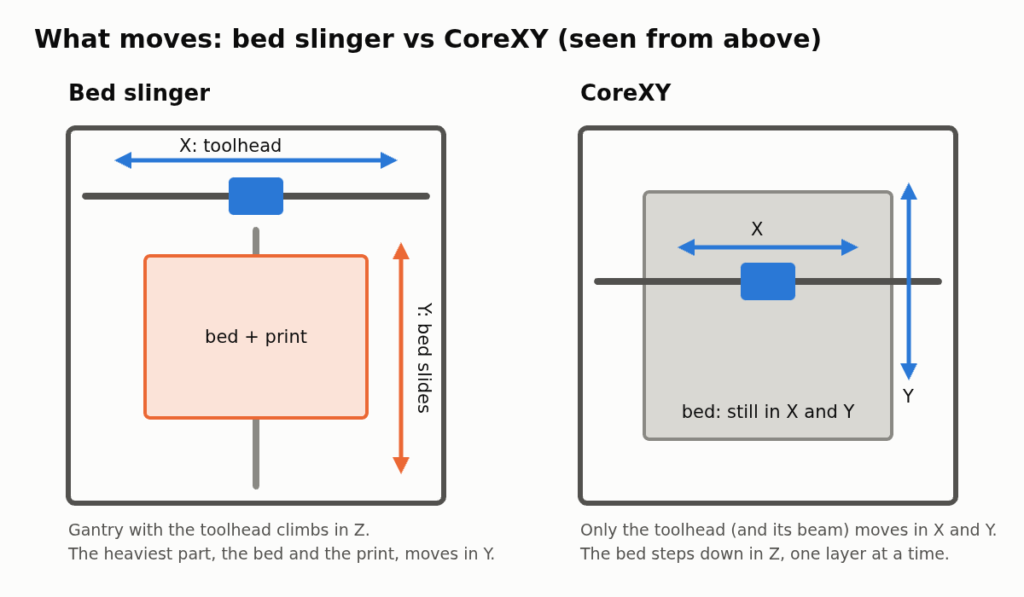
The CoreXY vs bed slinger difference comes down to what moves. A bed slinger moves the bed in Y and the toolhead in X, while a CoreXY keeps the bed still in X and Y, lowers it only in Z, and moves just the toolhead. That makes the CoreXY the winner for tall or heavy parts, enclosed ABS and ASA printing, and shallow desks. A bed slinger wins on price and simplicity when you mostly print PLA or PETG at small to mid sizes.
I’ve lived with both camps. My Ender 3 Pro and Biqu B1 throw their beds back and forth, and my Bambu Lab P1S keeps its bed still and is my number one printer. Each section below ties one difference to a kind of print or a kind of setup. The short rule: mostly PLA/PETG with parts under about 250 mm on their longest side, on a deep desk, means a bed slinger, and anything else means CoreXY.
CoreXY vs bed slinger: what actually moves in each machine
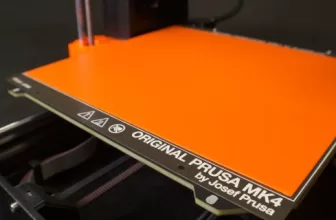
On a bed slinger, the Y motor drags the whole bed front to back: the carriage, the build sheet and the print growing on top of it. The X motor rides on a gantry that carries the hotend left and right, and that whole gantry climbs in Z on lead screws. The Ender-3 V3 SE is the textbook case, with a 220 × 220 mm plate that has to shuttle its full depth so the nozzle can reach front and back. My Ender 3 Pro and Biqu B1 work exactly the same way.
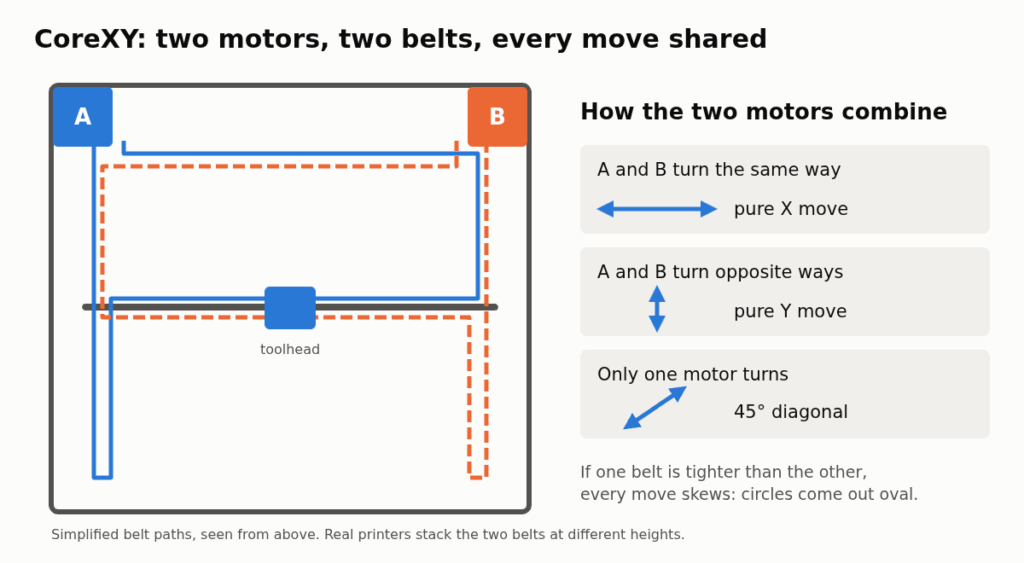
A CoreXY flips that. Both motors are bolted to the frame, each driving one long belt, so the toolhead moves in X and Y while the bed only drops in Z, one layer at a time. Neither motor owns an axis: a pure X move turns both motors, a pure diagonal turns only one, and the firmware thinks in combined A and B motions. That shared setup is also its weak spot: if one belt is tighter than the other, every move comes out slightly skewed, so matching belt tension matters far more here than on a bed slinger.
Mass is the whole story. On a bed slinger, the Y axis moves the heaviest assembly in the printer, and it gets heavier with every layer. On a CoreXY, the moving mass is the toolhead and the beam that carries it, and it stays the same from the first layer to the last. Nearly every CoreXY vs bed slinger difference in the rest of this post, from ringing to desk space, falls out of that one fact.
Speed in practice: how much the moving bed really limits you once input shaping is on
Input shaping compensates the stepper-motor commands for the frame’s resonance. Marlin’s input shaping documentation has you print a calibration test to find the damping frequency for your own X and Y axes, and the shaper should match the frame’s natural frequency, so there is no single correct number to copy. Where your printer’s frequency lands depends on what each axis has to carry, and that’s where the CoreXY vs bed slinger gap opens up.
On a bed slinger, the Y axis carries the bed, its sheet and clips, and the print as it grows. More mass on the same belt means a lower natural frequency, and Klipper’s resonance compensation guide says to use as high a shaper frequency as possible, because a longer shaper smooths parts more. X carries only the toolhead, so it rings higher. Klipper’s accelerometer calibration suggests a max_accel for each shaper “to avoid too much smoothing”, so expect the heavier Y axis to set the lower ceiling.
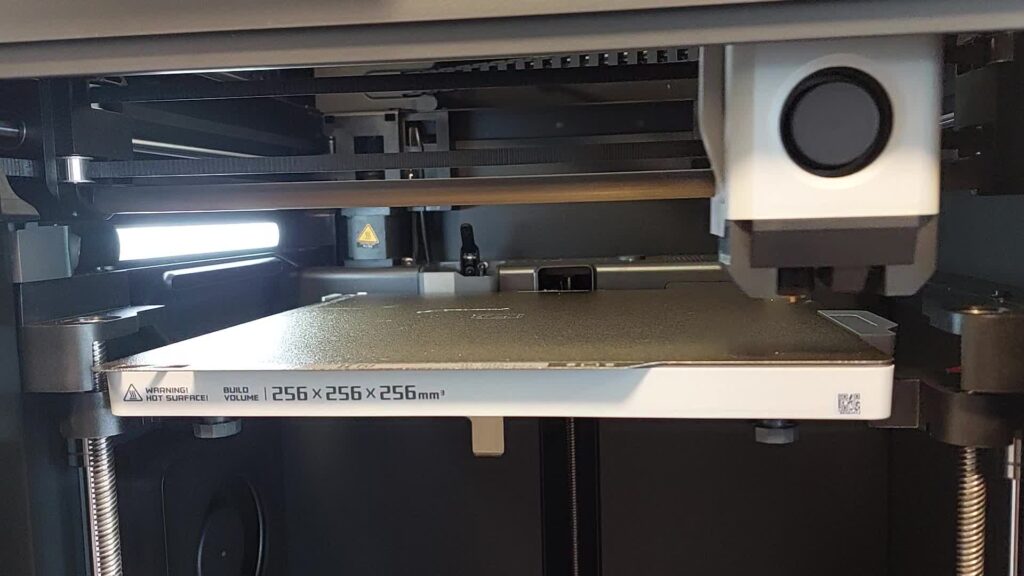
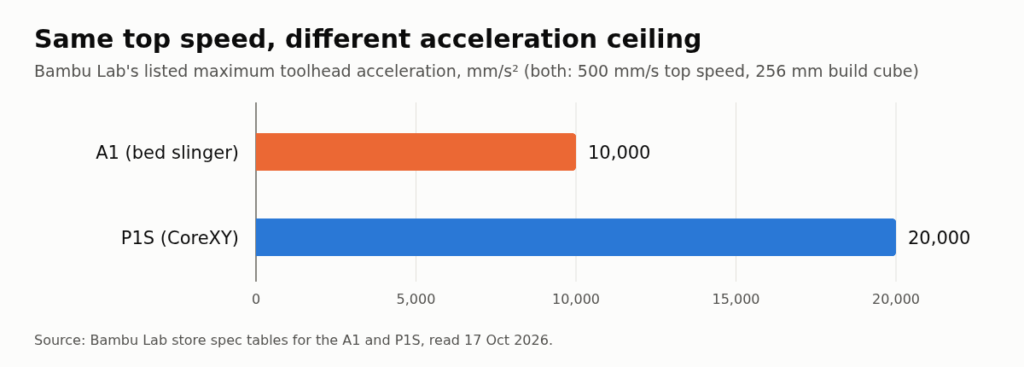
The Bambu Lab A1, Bambu’s bed slinger, is rated for 500 mm/s and 10,000 mm/s² acceleration in the spec table on Bambu Lab’s A1 store page. The Bambu Lab P1S, a CoreXY with the same 256 mm build cube, has the same 500 mm/s top speed but 20 m/s², that is 20,000 mm/s², on Bambu Lab’s P1S store page. Top speed rarely limits a real print; acceleration does, because short perimeters and small infill spend most of their time speeding up and slowing down. That doubled acceleration ceiling is the real gap between the two layouts.
On stock firmware my Biqu B1 ran 60 mm/s perimeters, and quality fell apart at 100 mm/s. On Klipper with input shaping it runs 170 mm/s perimeters, 200 mm/s infill and 300 mm/s travel, and my test print dropped from 1 hour 45 minutes to 1 hour 20 minutes.
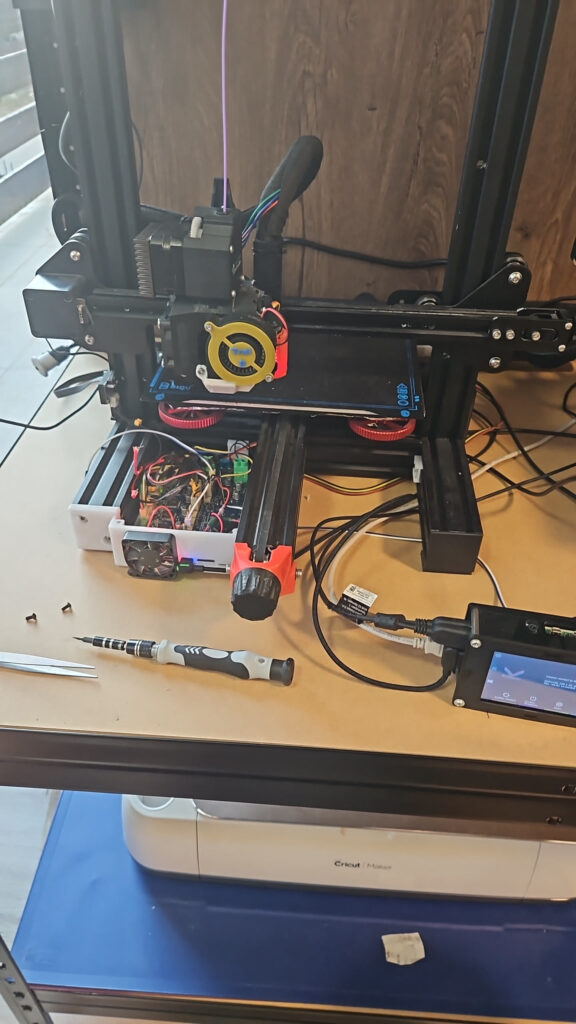
Input shaping values are measured per printer, not assumed. A tune copied from someone else’s machine is a guess, and on a bed slinger it’s a worse guess, because a different plate, a heavier sheet or even a different desk shifts the Y resonance. On my B1 the printer visibly shook at higher speeds, and that shaking was reduced once I tuned input shaping.
Marlin’s docs also show where CoreXY differs. Its calibration tunes the X and Y axes on any layout, but on a CoreXY it has you rotate the ringing tower 45° to separate the motion of the two motors, because each one drives a diagonal rather than X or Y. So the extra money for a CoreXY doesn’t buy input shaping itself; Klipper’s calibration guide covers bed slingers, with the sensor moved to the bed to measure Y, and any bed slinger on modern Marlin or Klipper gets it too. What a CoreXY buys is a lighter moving mass and a higher frequency to tune against.
Print quality: tall narrow parts, heavy prints and ringing, and whether motion affects bed adhesion
Tall, narrow parts are where the gap shows first, and tall here means a height that is large next to the footprint the part stands on. Every Y move accelerates the bed and the print rides along, so a part like that acts as an inverted pendulum: the tip lags, then whips, and the bending load on its small base grows with every layer. That’s how you get blurred upper layers or a part that snaps off halfway up and drags across the plate. On a CoreXY the part stands still and only the nozzle moves around it.
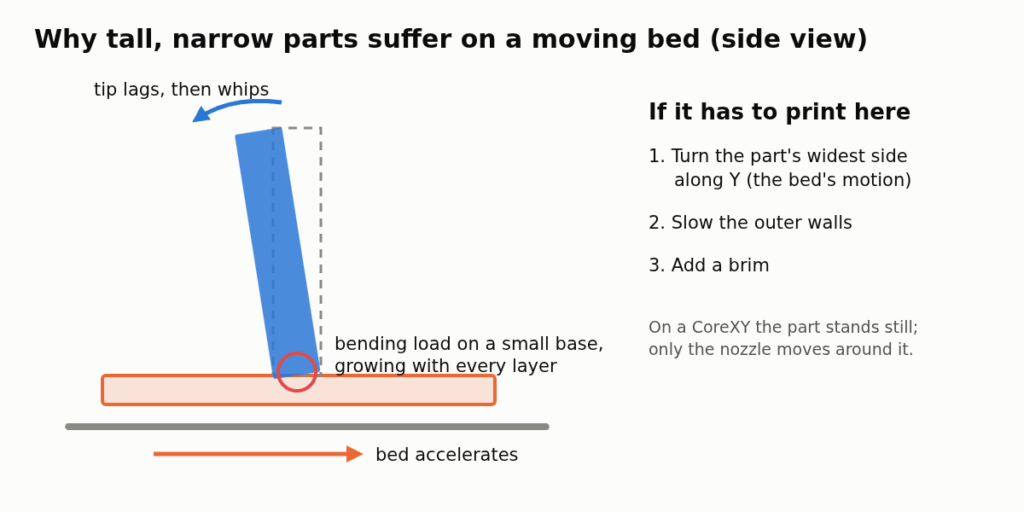
The resonance also moves while the part prints. Marlin’s Fixed-Time Motion command, M493, has a Dynamic Frequency setting with Z-based and mass-based modes, and the Configuration_adv.h comment describes it as adjusting the XY shaping frequency “according to Z or E”, that is, with height or with the filament extruded. On a Marlin bed slinger running Fixed-Time Motion, the mass-based mode is the one that follows the part getting heavier on Y. A tall part also gets top-heavier, which no frequency setting fixes, so if you must print one there, turn its widest side along Y, slow the outer walls and add a brim.
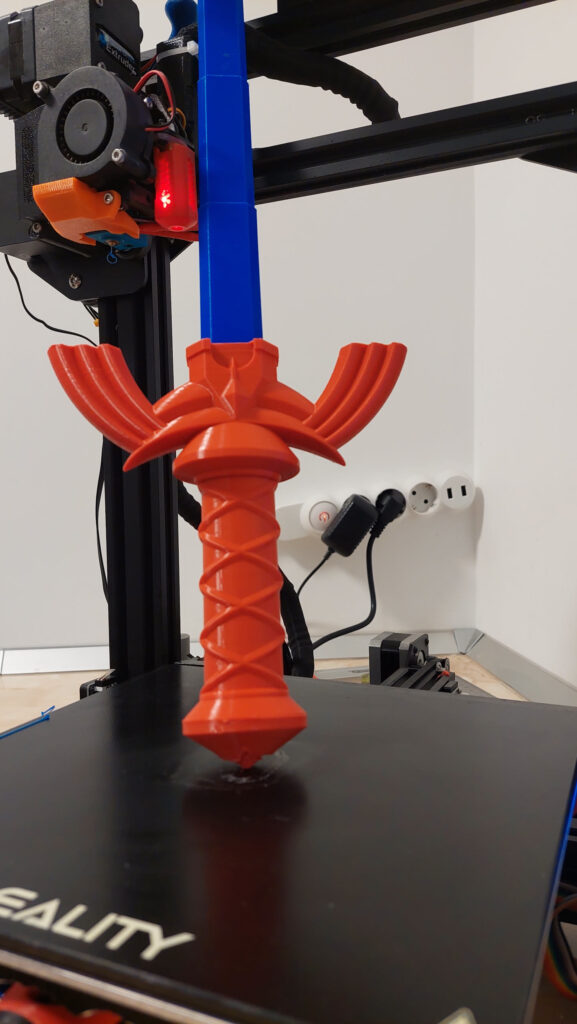
Heavy prints only change the physics on a bed slinger. A 500 g block of PETG is 500 g more on the Y axis, on top of a bed that is already the heaviest moving part in the machine. Klipper’s guide says it plainly: on bed slingers, as filament is deposited, the mass of the bed increases and the resonance frequency decreases, so a fast profile that looked clean on a calibration cube can ring on the last third of a big print. On a CoreXY the same block sits on a bed that only steps down in Z, and the motion system never feels it.
Ringing follows the moving mass. On a bed slinger the bed is the heavier, lower-frequency axis, so expect ghosting to show up worse on the Y side of a test print, while X carries only the toolhead and tends to stay cleaner. Klipper’s ringing tower has an X mark and a Y mark for exactly this, so print one, see which side ghosts, and you’ll know which axis to tune.
Bed adhesion is mostly a cleanliness problem, not a motion problem. A flat, wide part barely notices the bed moving, because the plate’s grip is far stronger than the inertial pull on a low print. Motion only starts to matter when the part is tall with a small footprint, the tipping problem above, and that’s when a brim earns its place by spreading the peel force over more area. For a squat box, skip it.
My own failure log backs this up from the other side. In about 1,617 hours my P1S has failed roughly 5% of its prints, mostly on adhesion, because grease from my hands gets on the plate and I have to wash it with soap and warm water. That’s a CoreXY with a bed that never moves in X or Y, so the motion system clearly isn’t the main reason parts let go. Clean the plate before you blame the kinematics.
Desk space and enclosures: the footprint a bed slinger really needs, and printing ABS/ASA
A bed slinger needs roughly twice its bed depth in front-to-back clearance, plus its frame. The plate has to travel its full depth for the nozzle to reach both edges, so the Ender-3 V3 SE’s 220 mm plate sweeps through roughly 440 mm, with the frame, spool and cable loop on top of that. Measure your desk with the bed pushed fully forward and fully back, not with the printer parked. This is the number most buyers forget to check.
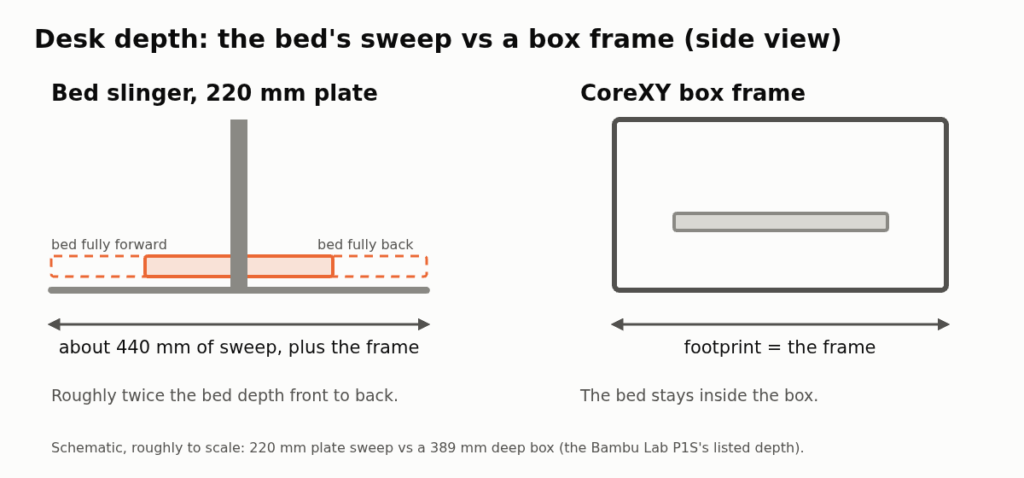
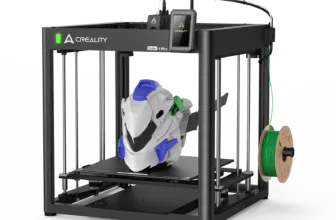
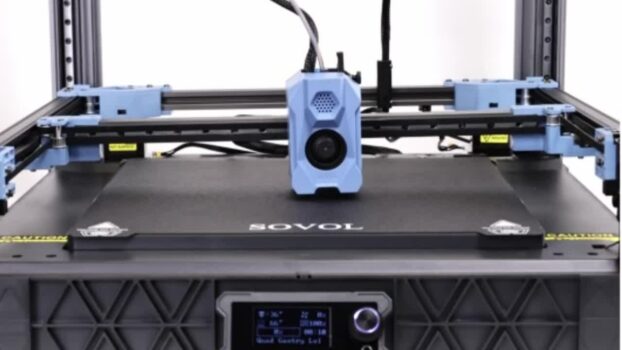
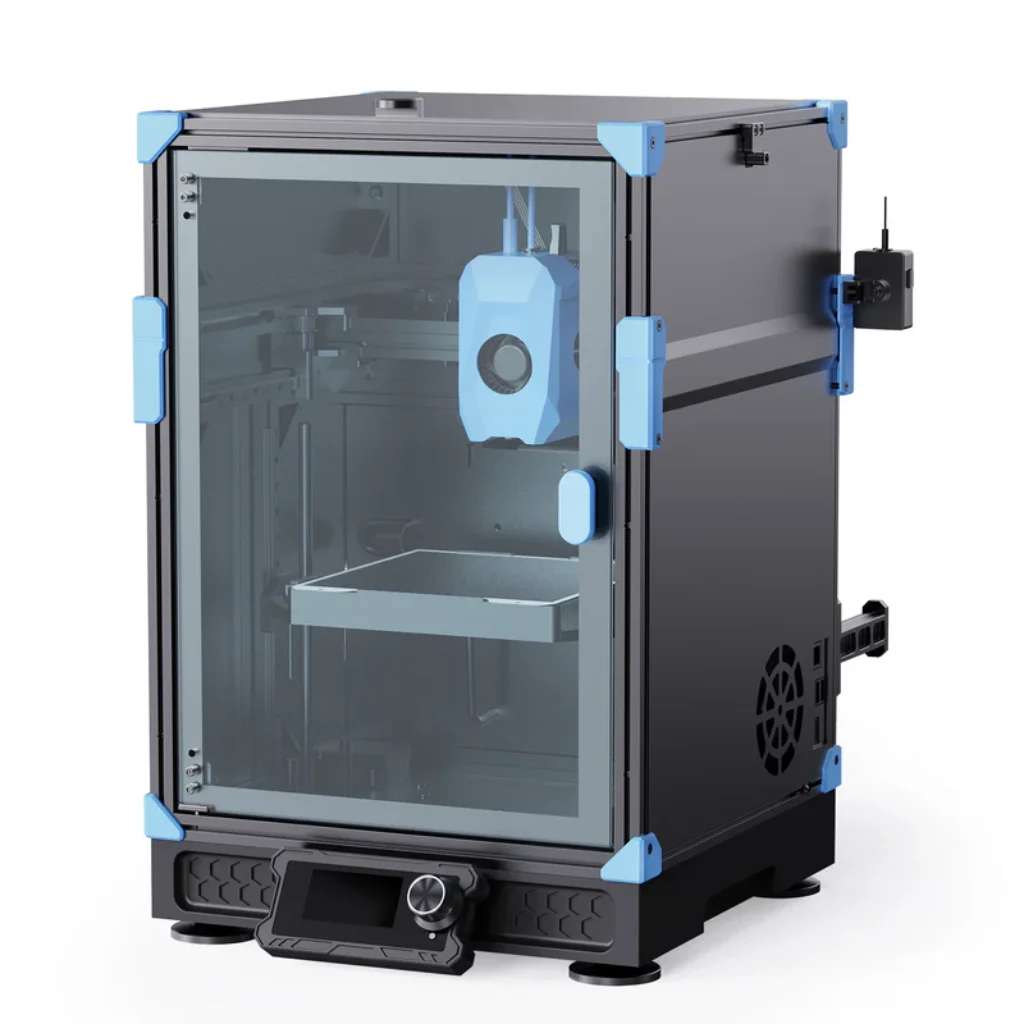
At bigger sizes the gap gets hard to ignore. A bed slinger with a 400 mm deep bed would sweep through about 800 mm front to back before you even count its frame. A large CoreXY such as the Creality Ender-5 Max keeps its bed inside a box frame, so its footprint is basically the frame. Bambu Lab lists the whole P1S at 389 × 389 × 458 mm, and small CoreXYs like the Sovol Zero work the same way.
Depth isn’t the only desk problem. My P1S’s plastic panels don’t flex or rattle at speed, but the whole printer shakes on its table, so a CoreXY isn’t gentle on furniture either. A bed slinger throwing a heavy plate does the same along one axis, and a wobbly desk feeds that energy back into the print. Whatever you buy, put it on something heavy and rigid, and run the input shaping calibration on the surface it will actually live on.
For ABS and ASA, the layout matters even more. A bed slinger’s enclosure has to be deep enough for the full bed sweep, so the tent-style enclosures sold for them end up big, and you heat a lot of air the part never uses. A CoreXY’s box frame takes panels directly and holds chamber heat around a bed that stays in the middle. I’ve printed ABS, ASA and PETG on my P1S with the door closed and had no problems, though you could still smell the fumes in the room.
Don’t assume a CoreXY ships enclosed, though. Creality’s store lists the Ender-5 Max enclosure as an optional $129 accessory on the printer’s own page ($116.10 on sale, as of 17 Oct 2026), so the frame is ready for panels but the panels aren’t in the box. And an enclosure keeps heat in; it doesn’t clear fumes, so plan where those go.
If you only print ABS or ASA occasionally and keep the parts small, my guide to printing ABS without an enclosure covers which parts survive open air.
Maintenance and repairs: belt tensioning, alignment and how easy each is to fix
On a CoreXY, belt tension is the maintenance job that matters most, because the two long belts share every move: if one runs tighter, circles come out oval and the gantry skews out of square. To check, park the toolhead so both belts have an equal free span, pluck each one like a guitar string and compare the tone. A free phone spectrum-analyzer app turns that into a frequency, and what you want is two matching numbers rather than one magic value. With an accelerometer on Klipper, the calibration guide has a CoreXY belt check that runs the resonance test along each diagonal and compares the two graphs.
When a CoreXY is out of square, the X gantry usually isn’t perpendicular to the Y rails. The fix is to loosen the belts or the gantry, push it square against the frame or the front stops, retighten, and then re-check that both belts still match, because squaring and tensioning pull on each other. Finish by printing a large circle and measuring it across two diameters at 90°.
Maintenance is where the trade flips, because the bed slinger is simpler. X and Y each have one belt you adjust on its own, and the bed carriage rides on V-wheels or a linear rail, both cheap and easy to source. My Ender 3 Pro came without an X-belt tensioner, so I bought one separately, and I’ve since changed its V-wheels and swapped its bed springs for the sturdier yellow ones. On my Biqu B1, which has X and Y belt tensioners, the wheels and belts are what wore over the years.
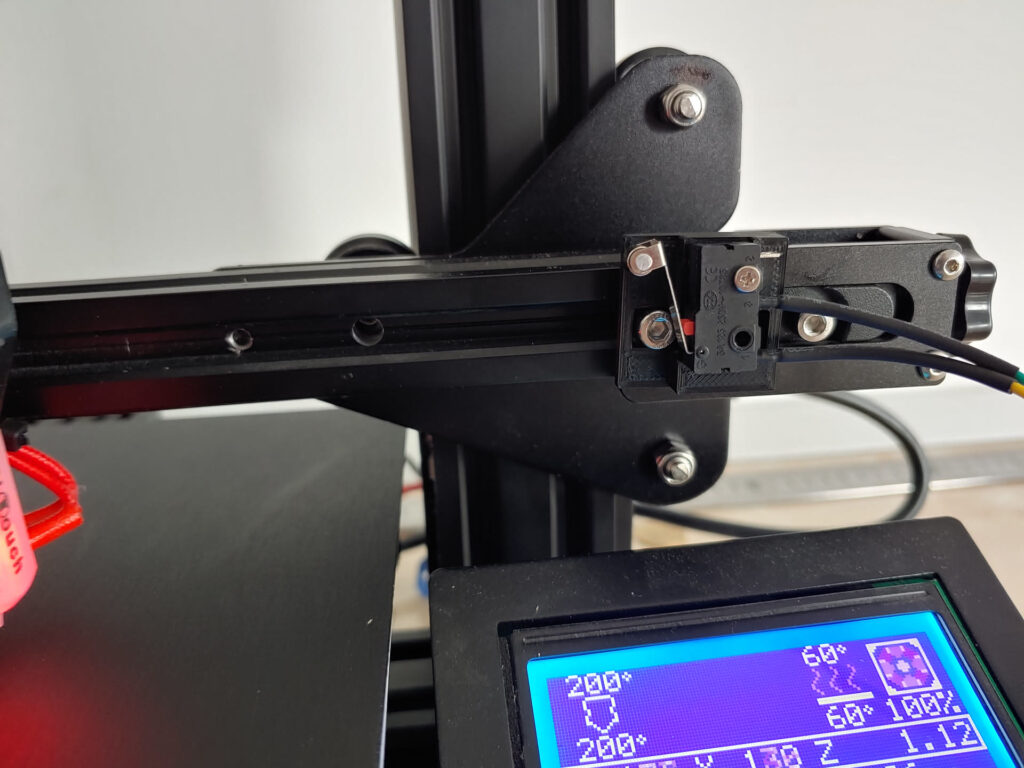
Alignment trouble on a bed slinger lives mostly in the gantry and Z. When I assembled my Ender 3 Pro, getting the Z axis 100% aligned mattered more than any other step, and Z-wobble was still the flaw I fought hardest: a calibration cube came out 0.2 to 0.4 mm off, depending on how recently I’d done maintenance. A Z belt system finally solved it on both the Ender and the B1, and when I squared the B1’s frame once, it stayed square.
My P1S is a printer for just printing: no fiddling, repairing or tweaking, only the maintenance. In about 1,617 hours I’ve cleaned and lubricated its carbon rods twice, and they show no wear, noise or ringing. The parts I’ve replaced were the AMS PTFE tube and hardened nozzles or extruder gears for carbon-fibre filament, so none of it was a motion-system repair.
Whichever you pick, a schedule based on print hours beats waiting for a failure; I’ve laid one out in 3D printer maintenance by print hours.
Cost at the same build volume: what the price difference buys you (USD/EUR)
The cleanest same-size comparison comes from one maker. The Bambu Lab A1 is a bed slinger and the P1S a CoreXY, both with a 256 × 256 × 256 mm build volume. As of 17 Oct 2026, Bambu Lab’s own EU store sells the A1 at €259 (€369 as the A1 Combo with the AMS lite) and the P1S from €379, marked down from €389. That’s a €120 gap between the two bare printers, and Bambu’s prices move often, so check the store, or live USD and EUR prices in our printer comparison, before you buy.
What the extra money buys starts with the frame: the P1S is a closed box rather than an open gantry on a base, and it carries twice the A1’s acceleration rating. It also buys a ready enclosure with a glass door and lid, so ABS and ASA are a door-close away. The third thing is a motion system where both motors sit on the frame and only the toolhead moves around.
At the entry level the price gap is wider. The Ender-3 V3 SE, an open 220 mm bed slinger, is listed at $199 on Creality’s Ender-3 V3 SE page as of 17 Oct 2026, and Creality’s own spec sheet rates it at 2,500 mm/s² against the P1S’s 20,000. And if the CoreXY you’re eyeing ships open, count an enclosure kit in its real price, like the Ender-5 Max’s $129 one above.
Upgrades narrow that gap less than you’d think. I spent around $100 on my Ender 3 Pro for a silent board, a metal extruder, stiffer springs, a new bed surface, a BLTouch and new firmware, and my P1S still prints the best quality of anything I’ve owned, by far. If you need ABS, ASA or tall parts and can afford the gap over a bed slinger, the P1S is the one worth stretching for, because it does almost anything.
Which one to buy: match the motion system to what you print and where it will sit
My rule for the CoreXY vs bed slinger call: if you mostly print PLA and PETG, your parts stay under about 250 mm on their longest side, and your desk gives you at least twice the bed’s depth, a bed slinger is fine, and the money you save buys a lot of filament. If you print ABS or ASA regularly, print tall or heavy parts, or your desk is shallower than about 2× the bed depth, buy a CoreXY. Tick boxes on both sides? Let the desk break the tie, because it’s the one thing no firmware can tune away.
There’s a third layout worth knowing at this point: a Cartesian printer whose bed moves only in Z, with the toolhead on a gantry that moves in X and Y. Top3DShop’s Ender 5 review describes the original Creality Ender-5 this way, a box frame like a CoreXY but with the X motor riding on the carriage. You get the still bed and compact footprint of a CoreXY with independent belts that don’t need matching, at the cost of a heavier moving gantry, because one axis carries the other’s motor. If belt matching puts you off but desk space doesn’t, it sits right between the two.
My own pick today would be a CoreXY. The P1S is my number one printer, and if I were buying now I’d go for the Bambu Lab P2S for its touchscreen, AI failure detection and easier nozzle swap. If a bed slinger fits your rule, the Bambu Lab A1 review covers Bambu’s own, and the Biqu B1 review shows how far a cheap one goes once it runs Klipper.
Sources
- Marlin Firmware documentation: Input shaping
- Marlin Firmware documentation: M493
- Marlin Firmware (GitHub): Configuration_adv.h
- Klipper documentation: Resonance compensation
- Klipper documentation: Measuring resonances
- Creality Store: Ender-5 Max 3D printer
- Bambu Lab EU Store: Bambu Lab A1 3D Printer (prices and specs, read 17 Oct 2026)
- Bambu Lab EU Store: Bambu Lab P1S 3D Printer (prices and specs, read 17 Oct 2026)
- Creality: Ender-3 V3 SE 3D printer
- Creality Support: Ender-3 V3 SE parameters
- Top3DShop: Creality Ender 5 review