 Additive Realm
Printing ABS without an enclosure works for small, squat parts. A bracket or knob a few centimetres across usually comes off the bed flat. Long, flat parts are the ones that lift. ABS shrinks unevenly as it cools, and that pull ends at the bottom corners.
Three levers do most of the work. Match the bed temperature to the range on your spool. Turn the part cooling fan off. Keep drafts away from the printer.
No research gives a millimetre cutoff for open-frame ABS, so this post gives you a test instead: print flat bars at 50, 100, 150 and 200 mm, and the longest one that stays flat is your limit. Settle fumes before any of it. ABS gives off particles and volatile organic compounds while it prints, so run it in a ventilated room you are not sitting in.
Why ABS warps on an open frame: footprint length is the limit, not print time
ABS warps because it shrinks as it cools, and it doesn’t cool evenly. A study of ABS warping traced the lift to temperature differences between neighbouring layers, and between the first layer and the build plate, and found the bottom corners are the most likely to lift.
An open frame makes the gradient worse. The same study, run on an open printer with no heated chamber, found colder air circulating around the part increased warping. Its authors suggest cutting the airflow around the print, by closing the chamber or printing in a heated one, as the next step, though they did not test that themselves.
Footprint length sets the limit because shrinkage adds up along the part. Every millimetre of a cooling layer pulls in a little, and over 200 mm those small pulls sum to a large one. All of it ends at the corners, where the bond to the bed has to hold it. A tall, narrow part on a small footprint has short bottom edges, so the corner stress stays small even if the print runs for hours.
Print time matters far less than how long the base is.
Fumes at home: what ABS gives off and the ventilation you need before you start
Settle the fume question before any of the fixes below. A NIOSH workplace evaluation found desktop printers emitted both volatile organic compounds and small particles, and notes that extrusion temperature, build-plate temperature, filament feed rate and the number of printers running all influence emissions. Several of those factors overlap with the warping fixes. Hotter settings that help adhesion can raise what you breathe, and so does running two printers in one room.
ABS is one of the worse filaments to breathe around. NIOSH’s guide to safe 3D printing notes that printing with ABS yields higher airborne ultrafine particle concentrations than PLA. A NIOSH toxicology study of ABS printer emissions measured an average aerosolised particle concentration of 0.24 ± 0.09 mg/m³ with an average particle mobility diameter of 85 nm, and found benzene was the main VOC. That was one lab setup, published as a conference abstract, so read the figures as a picture of what ABS gives off, not as the level in your room.
This is the core conflict in printing ABS without an enclosure: warping wants still air at the part, while ventilation wants air leaving the room. The way out is to ventilate the room, not the printer. Prusa’s ABS guide says the same: print in a well-ventilated room, but don’t create a draft around the print.
Put the printer in a room you don’t sit in and close the door. Run a fan in a window blowing outward, placed so the air it pulls doesn’t cross the bed. Leave during the print and stay out until the room has cleared afterward. Don’t print ABS in a bedroom or with children or pets in the room.
A filtered, ventilated enclosure around ten desktop printers in a workplace cut particle number concentrations by 99.7% and total organic chemical concentrations by 53.2%. NIOSH also reports that a filtered enclosing hood placed over a printer reduced particle emissions by 97% to 99%. In the workplace test, organic chemicals fell far less than particles, so filtering the air is not the same as removing it.
Where the size limit sits with stock settings, and how a failure shows up as parts get longer
Where your limit sits depends on things a blog can’t measure for you: room temperature, drafts, bed surface and filament brand. You can find it yourself.
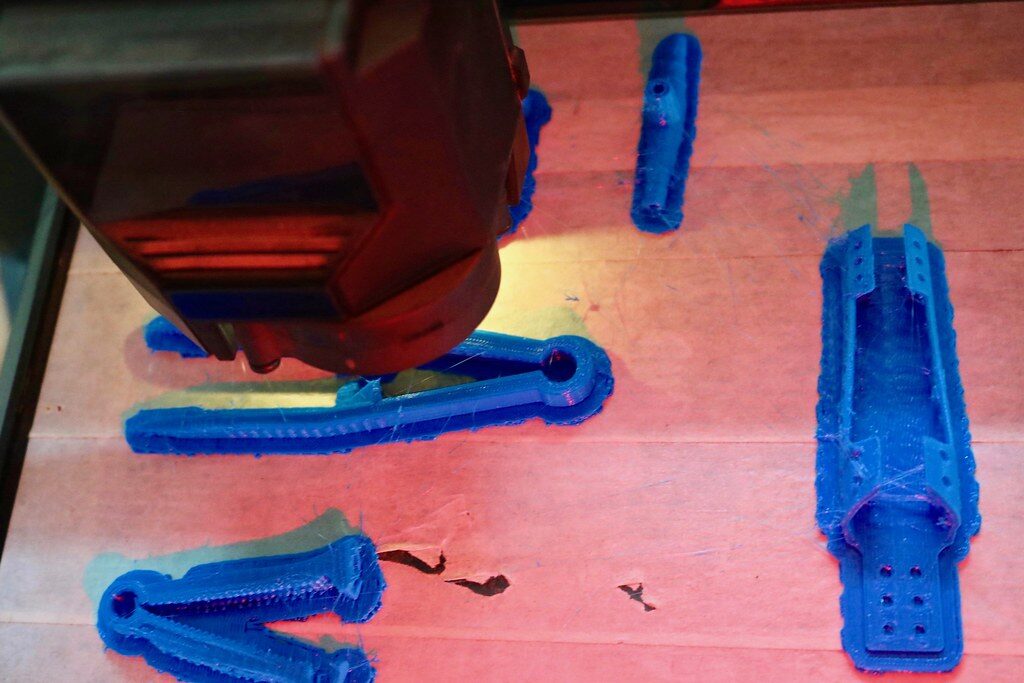
Use the stock ABS profile and print flat bars about 10 mm tall and 15 mm wide at 50, 100, 150 and 200 mm long, or as long as the bed allows. Print them one at a time. The longest bar that comes off flat is your baseline. Re-run the same bars after each change below and you’ll know how much length that change bought on your setup.
The warping study identifies the bottom corners as the most likely place for lift to start, so watch them first: light under the brim or a feeler gauge sliding in is the earliest sign.
Read the type of failure, not just the fact that it failed. Corner lift means adhesion is losing, so start with the next section. Cracks between layers above a flat base mean the part is too cold above the first few millimetres, which is an airflow and chamber-temperature problem that more glue won’t fix. For general fixes outside ABS, the quick fixes for common print problems cover the basics.
Bed adhesion first: surface, bed temperature and first-layer settings that hold the corners down
Adhesion comes first because corner lift starts at the bond, and the fixes cost nothing. Start with temperature, and resist the forum habit of cranking up the bed. The warping study found lift was lowest when nozzle and bed temperatures matched the filament manufacturer’s recommended values, and both higher and lower settings increased it. Use the range printed on your spool and treat its bed figure as the target, not as a minimum to exceed.
Then set the first layer. Slow it down, print it slightly squished, and widen the first-layer line so more plastic touches the bed. An under-extruded first layer leaves gaps along the edge, and corners lift from gaps. If the line looks thin even with a correct Z offset, check your extruder calibration before blaming the bed.
Keep the part cooling fan off for at least the first several layers, whatever you do with it later.
Slicer changes that add length: part cooling off, brims and mouse ears, draft shields, and rounding sharp corners
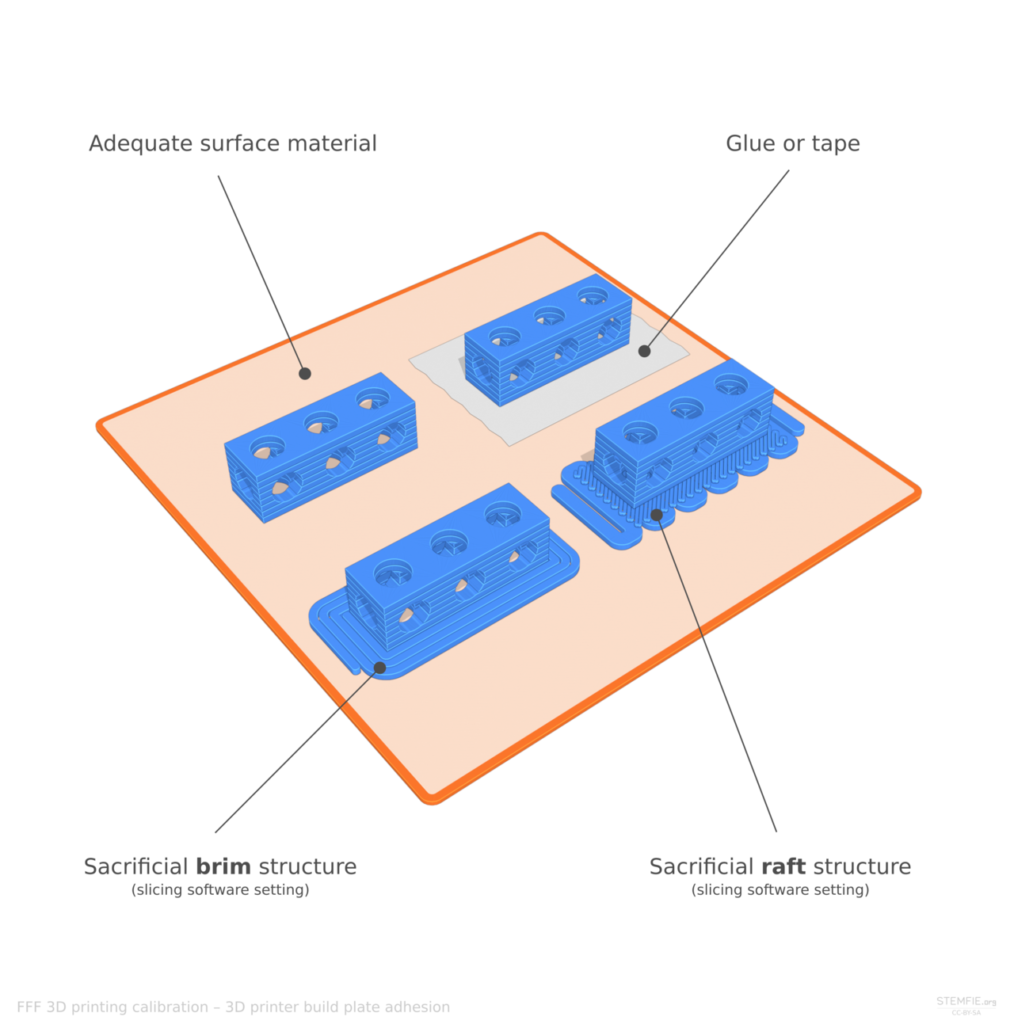
Four changes in the slicer and CAD buy back length before you touch the room: part cooling off, a brim or mouse ears, a draft shield, and rounded corners. The diagram below shows a brim beside the other common bed-adhesion aids: the right surface, glue or tape, and a raft.
Turn the part cooling fan off for the whole print, not just the first layers. The fan blows air straight at the part, which is the airflow problem from the first section aimed exactly where it hurts. Bridges and overhangs will sag a little more, and on most ABS parts that trade is worth it. If one feature needs cooling, allow a low fan speed for that height range only.
Next, add a brim. It spreads the corner pull over more bed contact and peels off afterwards. OrcaSlicer’s documentation notes that a wider brim improves adhesion but uses more material, so widen it only as far as the bar test says you need.
If a full brim is a pain to clean up, use mouse ears instead. These are small discs placed near corners and sharp features, which OrcaSlicer describes as reducing warping while using less material than a full brim. OrcaSlicer can place them automatically. In other slicers, add the discs as separate shapes in the model.
A draft shield is a single-wall skirt printed to the full part height, a few millimetres from the part. It holds little heat, but it breaks up air moving along the walls, so it helps more against cracks between layers than against corner lift. Prusa’s ABS guide recommends it, under the skirt and brim settings.
Round sharp vertical corners in CAD. A sharp 90° corner concentrates the shrinkage pull at one point, and a fillet or chamfer of a few millimetres spreads it along a curve. For the order, try the fan first, then a brim, then mouse ears, then corner rounding, then a draft shield. Re-run the bar test after each change so you know which one bought length.
Bed-slinger vs CoreXY: how a moving bed changes printing ABS without an enclosure
On a bed-slinger like the Prusa i3 below, the bed carries the part back and forth through the room’s air on Y. A CoreXY printer keeps the part still and moves only the head. No research measures how much a moving bed adds to warping, so treat the following as practical suggestions, not findings.
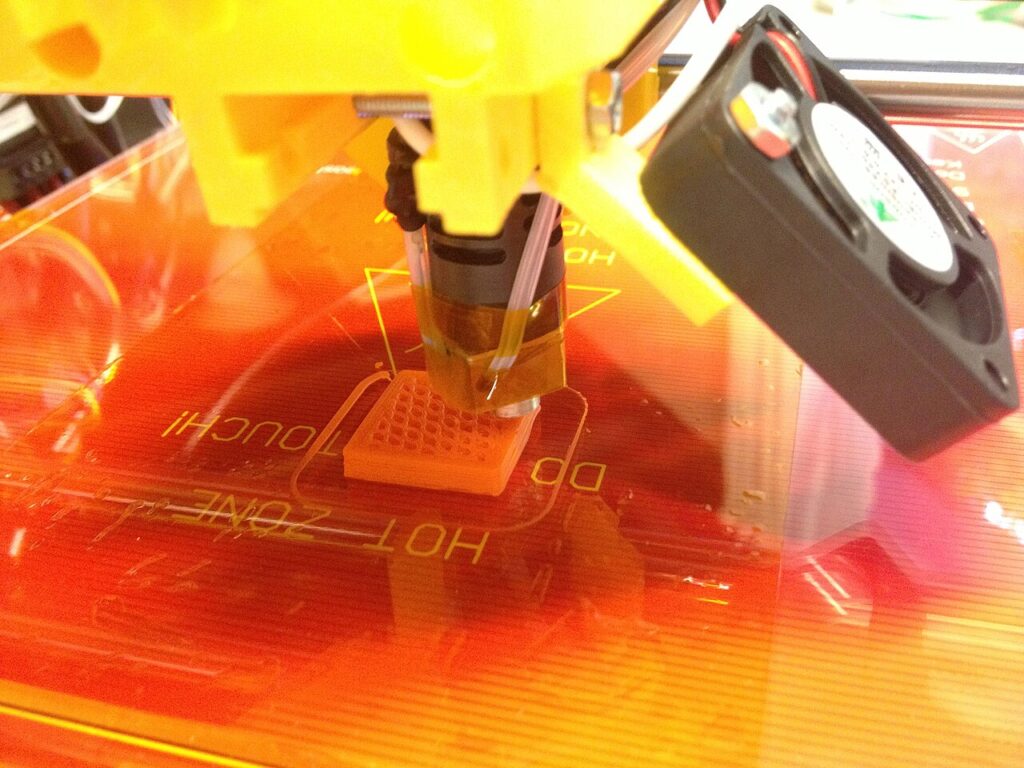
Orient the part’s long axis along X, so the bed’s Y motion doesn’t swing the long edges through the air. Lower Y acceleration for ABS jobs. If you are choosing between printers mainly for ABS, a CoreXY removes this variable entirely.
Room changes that cost nothing: drafts, heat-soaking the bed, and a cardboard box in place of an enclosure
Move the printer out of drafts: away from windows, vents, doors and ceiling fans. Then heat-soak it. Let the bed sit at temperature for several minutes before you start, so the frame and the air around the bed warm up too. This matters most in a cold room, where the first layer otherwise goes down into air that is still cooling everything around it.
A cardboard box over the printer is the cheapest partial enclosure, and how warm it gets matters. One study of ABS reported a maximum dimensional error of 1.463 mm at a 40 °C enclosure temperature and a minimum of 0.223 mm at 60 °C. A cardboard box on an open printer will typically run far below 60 °C, so don’t expect the study’s best-case result from one. The research does not test cardboard boxes, so put a thermometer inside to see what yours actually holds.
Keep the box clear of the hotend, the heated bed and the power supply. Keep the electronics outside it if you can, and never leave it running unattended. A box also traps fumes instead of removing them, so the room ventilation from the fumes section above matters more with a box, not less.
When the remaining failures mean you need an ABS enclosure or a switch to ASA or PETG
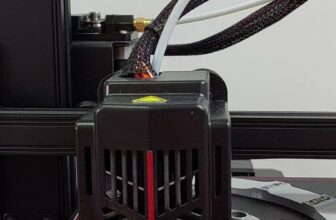
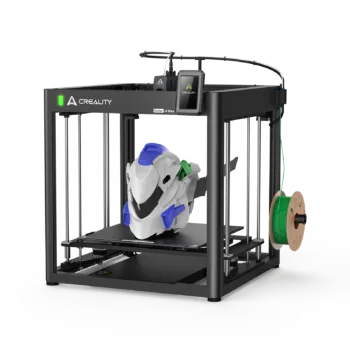
The decision rule is simple. If the bar test plateaus below the part length you need after all the fixes above, the open frame is the limit, and more glue or a hotter bed won’t move it. The next real gain comes from enclosing the part, as the closed frame and lid do on the printer below, or from changing the material.
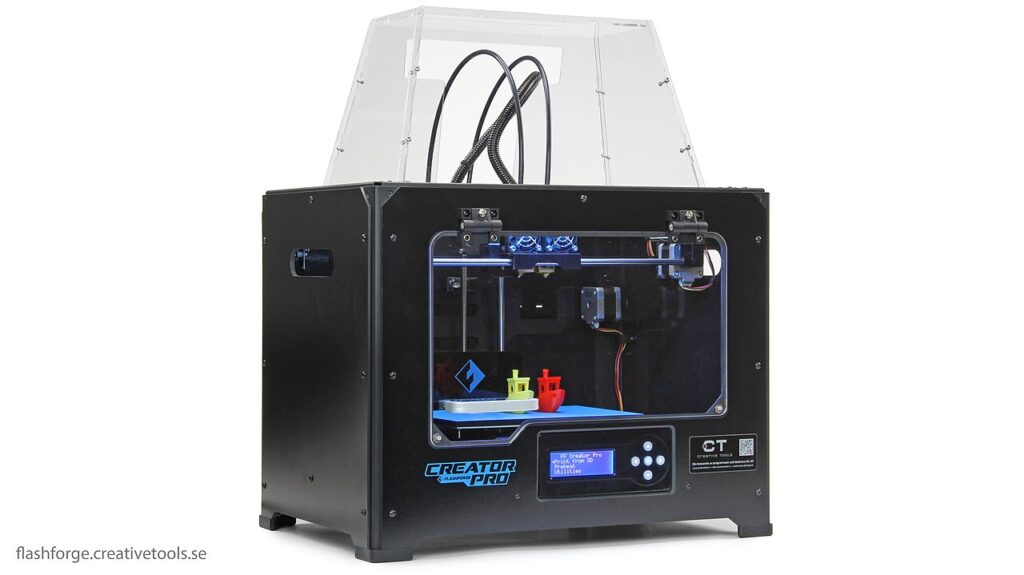
That can mean building an enclosure around the printer you own, buying a printer with one built in (the 3D printer buying guide covers what to look for), or outsourcing the one long part through local or online printing services. An enclosure built to hold heat is not a fume control. In the NIOSH workplace evaluation, the covers and doors supplied by the printer maker did not stop particles and organic vapours reaching the room air, so keep the ventilation rules either way.
Before you buy anything, ask whether the part needs ABS at all. PETG warps far less and prints well on an open frame, but it softens at a lower temperature than ABS. That rules it out for parts near a motor, a hotend or a car dashboard in summer.
ASA is not an escape. It warps like ABS and gives off similar fumes, so it needs the same enclosure and ventilation. Choose ASA for outdoor parts that need UV resistance, not to avoid an enclosure.
Sources
- Materials (MDPI), via PubMed Central: Thermal Deformations of Thermoplast during 3D Printing: Warping in the Case of ABS
- Engineering, Technology & Applied Science Research (ETASR): A Study on the Influence of Enclosure Temperature Control on the Printing of ABS Filament
- CDC/NIOSH: Health Hazard Evaluation Report 2017-0059-3291, Evaluation of 3-D Printer Emissions and Personal Exposures at a Manufacturing Workplace
- CDC Stacks (NIOSH): Toxicological Evaluation of Acrylonitrile Butadiene Styrene (ABS) 3D Printer Emissions
- Journal of Chemical Health and Safety, via PubMed Central: Evaluation of emissions and exposures at workplaces using desktop 3-dimensional printers
- CDC/NIOSH Publication 2024-103: Approaches to Safe 3D Printing, A Guide for Makerspace Users, Schools, Libraries, and Small Businesses
- Prusa Knowledge Base: ABS
- OrcaSlicer Wiki (GitHub): Brim settings