Extruder calibration is essential for 3D printing, as it ensures the correct amount of filament is pushed through the hotend during printing. If too little filament is supplied, the print will have voids or weak layers, poor adhesion and may warp or delaminate. If too much filament is used, over extrusion problems such as swelling and stringing can occur and the hotend can clog or jam. To prevent these problems, I recommend following this simple, step-by-step guide to calibrating your printer’s extruder.
Tools and materials needed
- Pronterface(as an alternative the printer menu can be used if you cannot connect the printer to a PC)
- Any type of filament that is not felxible
- A template, ruler or 3D printed model that can be used to measure
- A permanent marker or you can also use a cutter, or the pliers supplied with the printer
2. Connect the printer to your PC or laptop and find out the current E-steps value
Connect the printer to your PC or laptop using the included USB cable.

Enter the command:
M92
in the console to find out the E-stepss/mm value as you can see in the image below. If the M92 command does not work, enter the command:
M503
As you can see, the current value is 93.
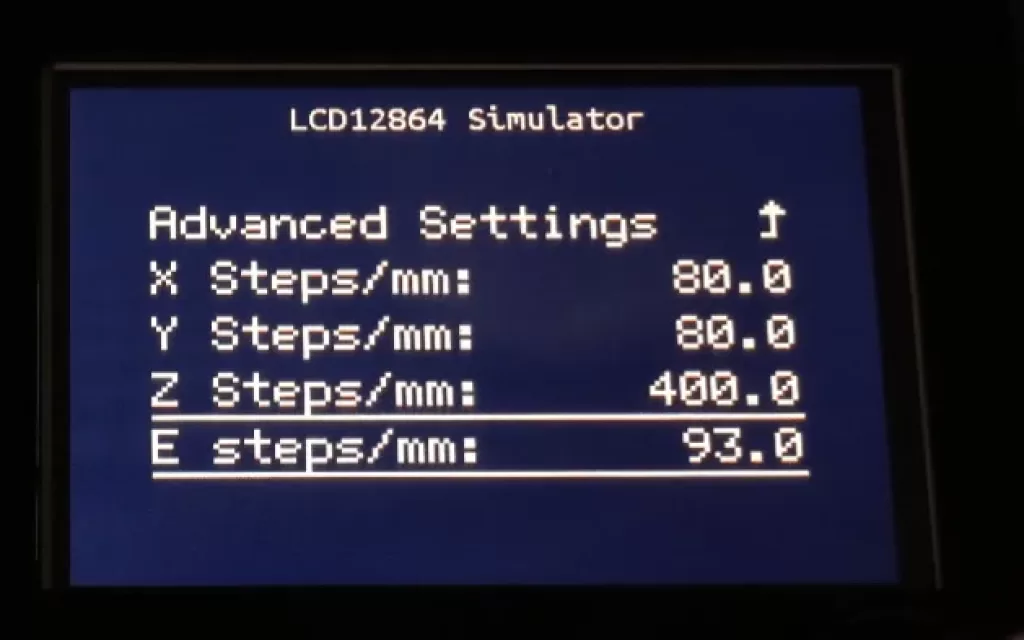
If you cannot connect to the printer via a PC, go to the printer menu – Configuration→ Advanced Settings→ Steps/mm → Esteps/mm:, and the value that appears here is the one you need.
If you don’t have the printer connected to your laptop or PC, go to step 3.
Manually move the hotend high enough above the bed to provide adequate clearance for extruding the filament. Now heat the hotend to the temperature at which you usually print, plus 10 degrees. Once the temperature is stable, insert the control into the console:
G91
The G91 places the printer in relative motion mode. This means that the extrusion demand of 100 mm of filament adds 100 mm to the current position, instead of moving to the specific 100 mm position.
For Klipper and Rep Rap Firmware, the M83 is used to select the relative motion of the extruder instead.
3. Mark the filament and start extruding
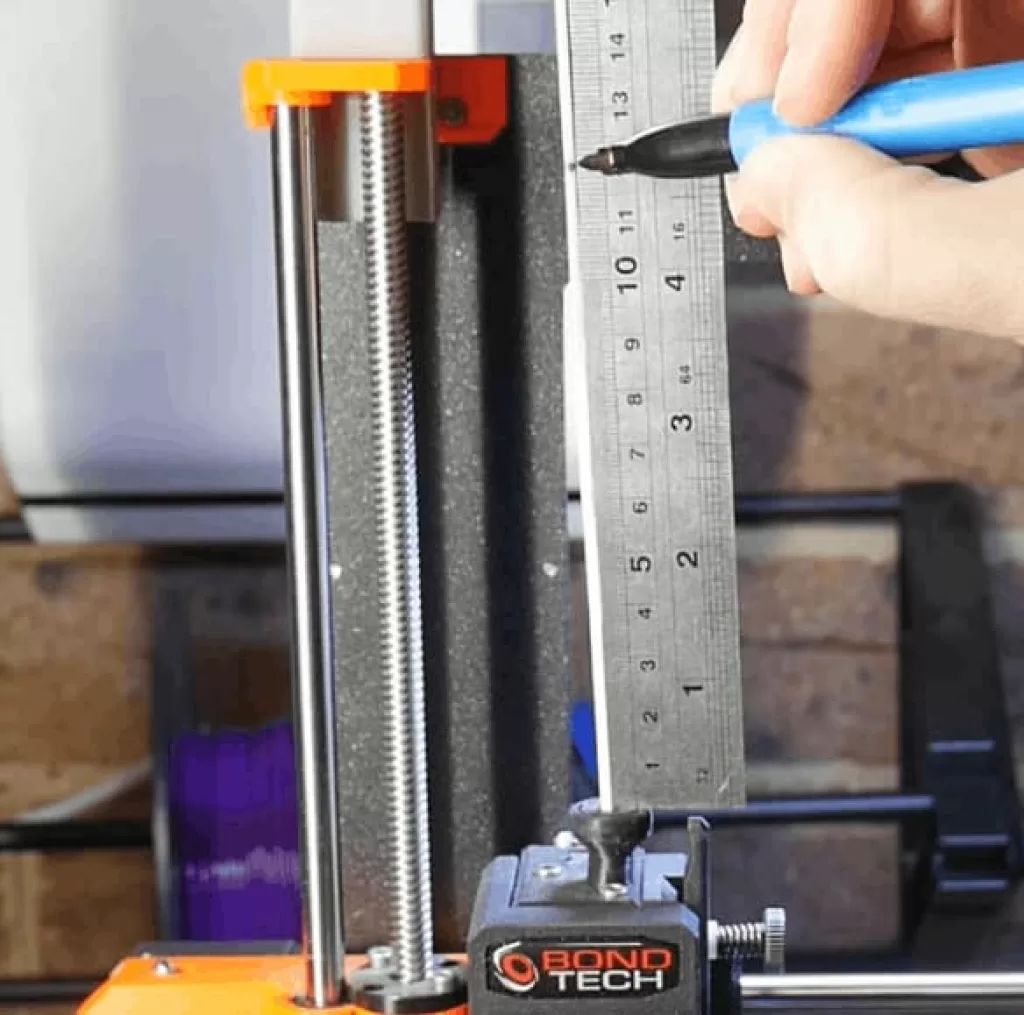
Now we take a permanent marker and put a mark at 120 mm from the extruder inlet, and insert the command:
G1 E100 F50
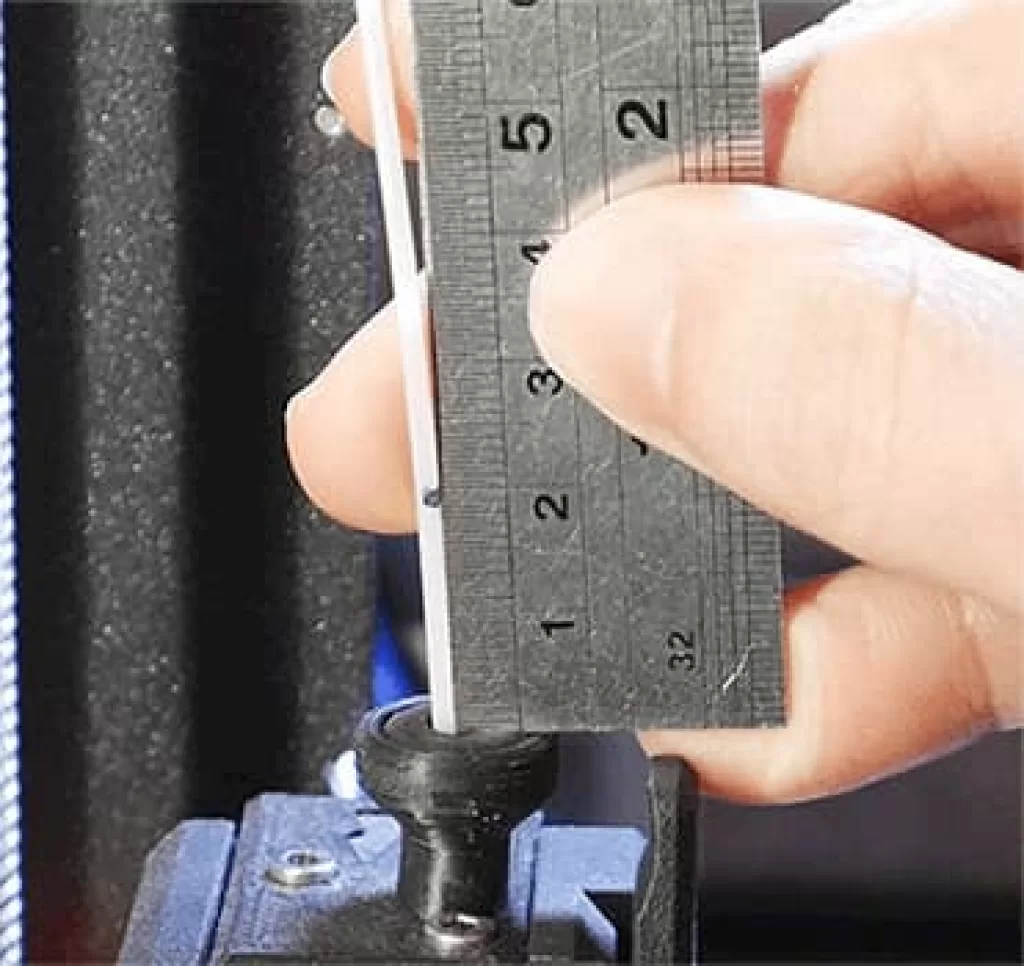
G1 sends a movement command to the printer, in this case asking the extruder to advance 100 mm at a speed of 50 mm/min. The filament will then pass very slowly through the extruder (and hotend). Once the extrusion is finished, we measure the distance between the mark and the entry to the extruder.
If you are not using Pronterface go to the main menu → Prepare→ Move Axis→ Extruder→ Move 10 mm: and choose the value 100, which represents 100 mm.
4. Re-measure and calculate the new E-steps value
Ideally, 20 mm remains, which means that exactly 100 mm has been extruded. If your distance is other than this, fill in the form below to calculate the correct E-steps:
5. Set the new E-steps value and repeat step 4
Once you have determined the correct value, it must be saved in the firmware to take effect on future prints. Although it can be hard-coded into the firmware by recompiling Marlin, it is much easier to use gcode to accomplish this.
In a terminal, enter:
5.1 Using Pronterface
M92 E[new value]
Obviously, you will replace the E-steps value with the value obtained previously. Save to EEPROM with:
M500
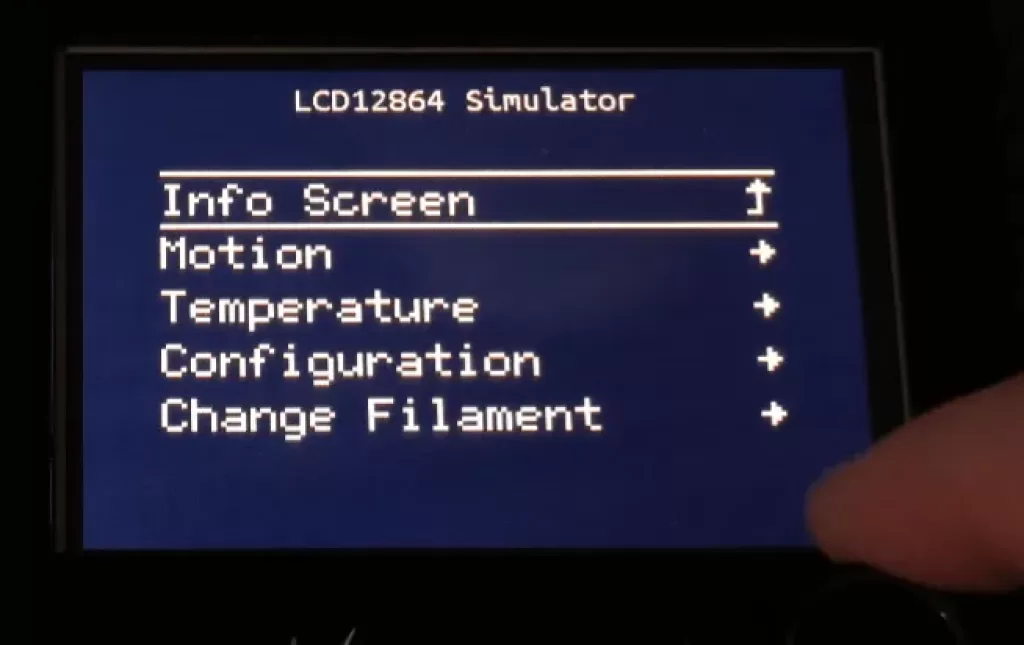
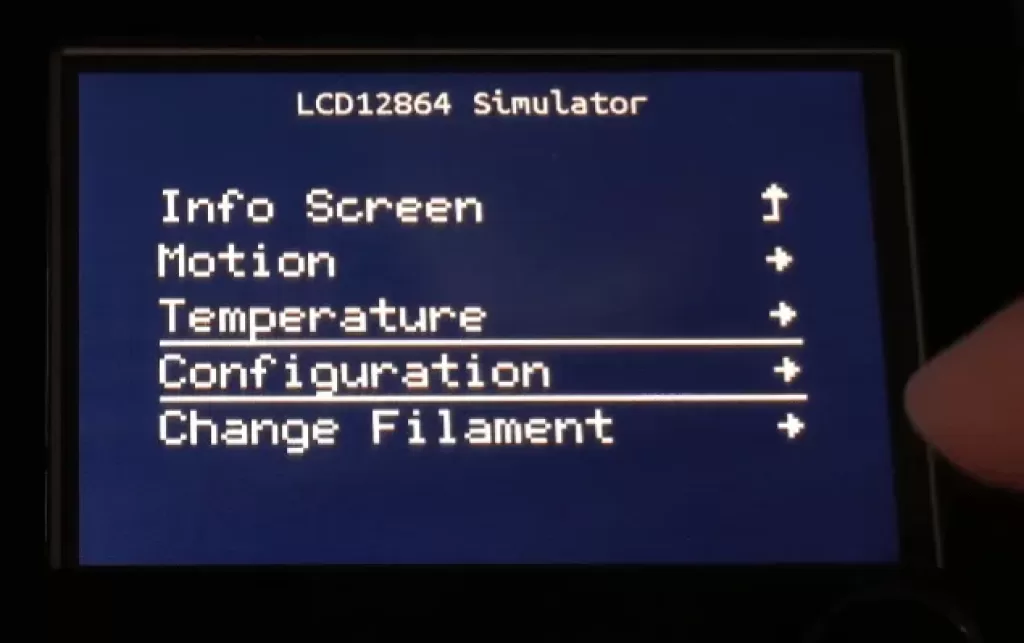
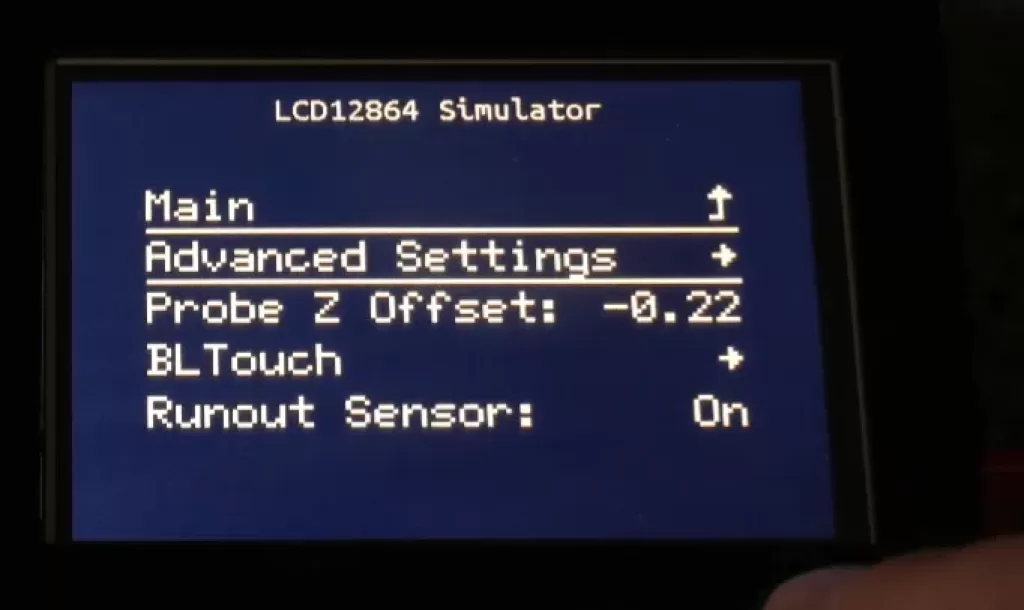
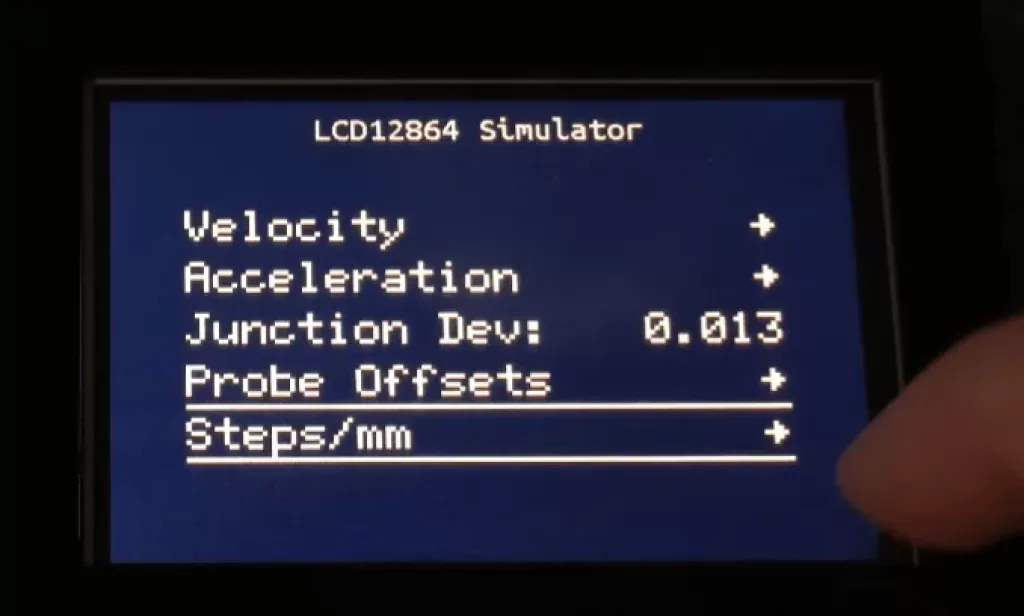
5.2 Standard Display
- Open menu
- Go to Configuration -> Advanced Settings -> Steps/mm
- Enter the new value at E steps/mm
- Navigate back to Configuration and click on Store Settings
5.3 TFT Display
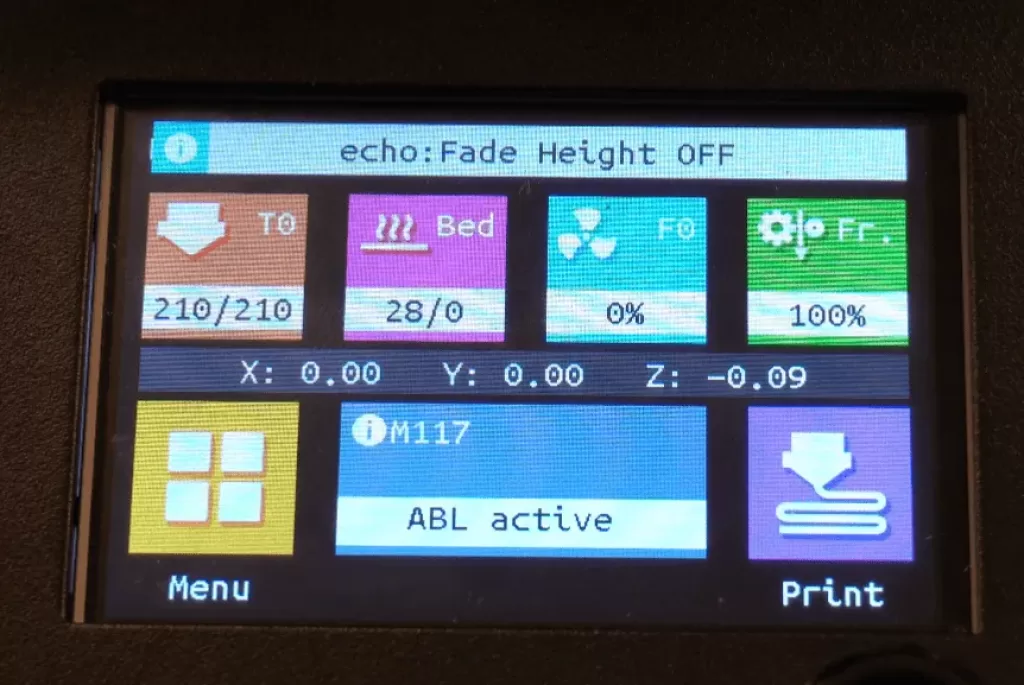
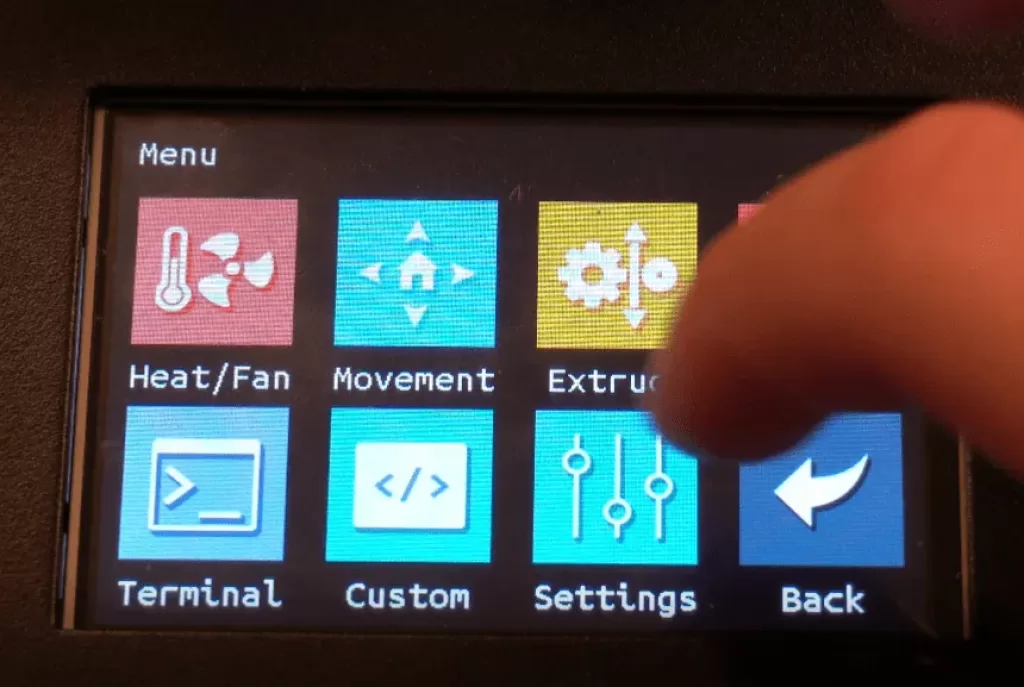
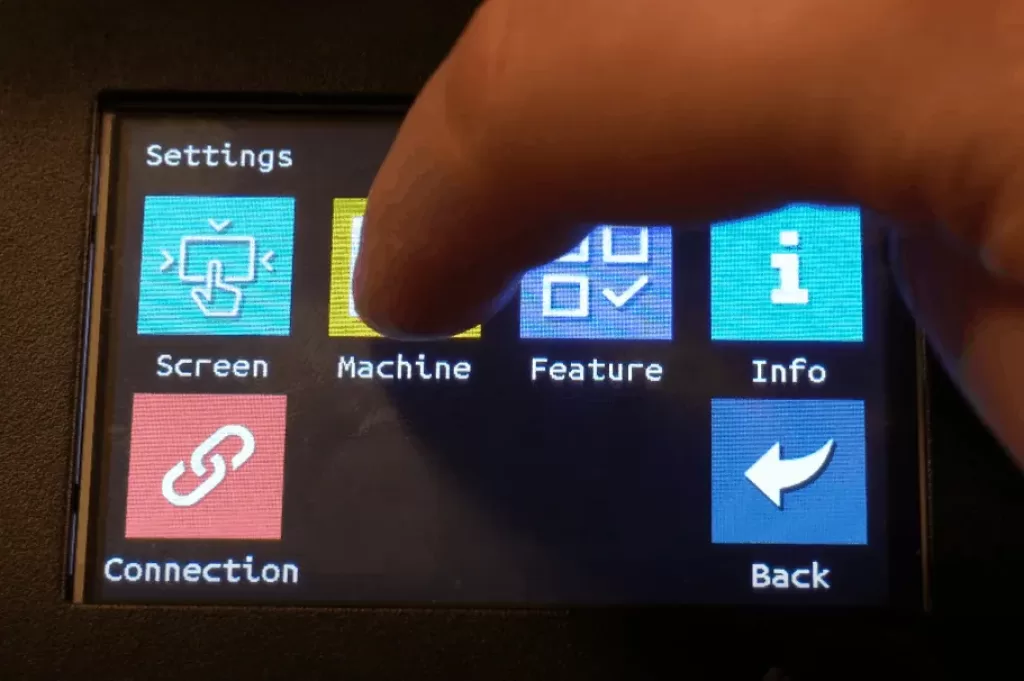
- Open menu
- Go to Settings -> Machine -> Parameter -> Steps per mm
- Enter the new value to E
- You will be prompted to save the printer settings when you return to the main menu, make sure you press OK.
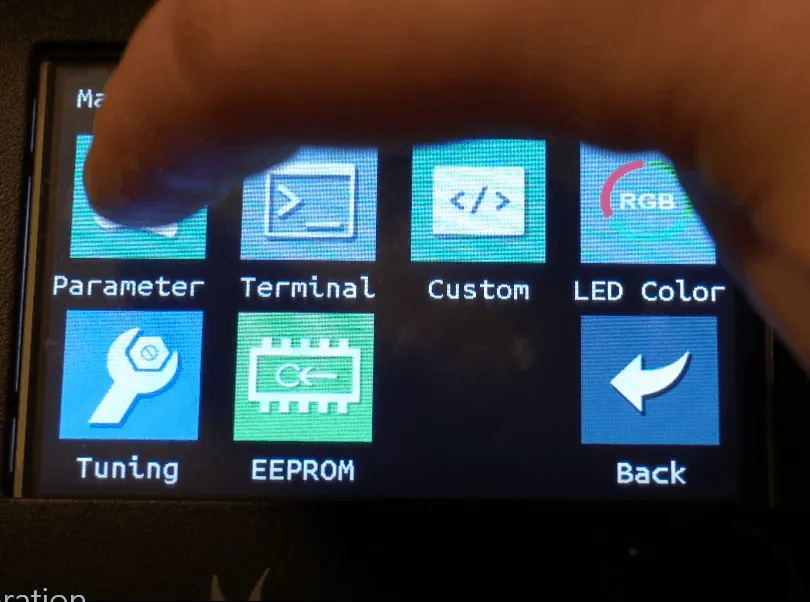
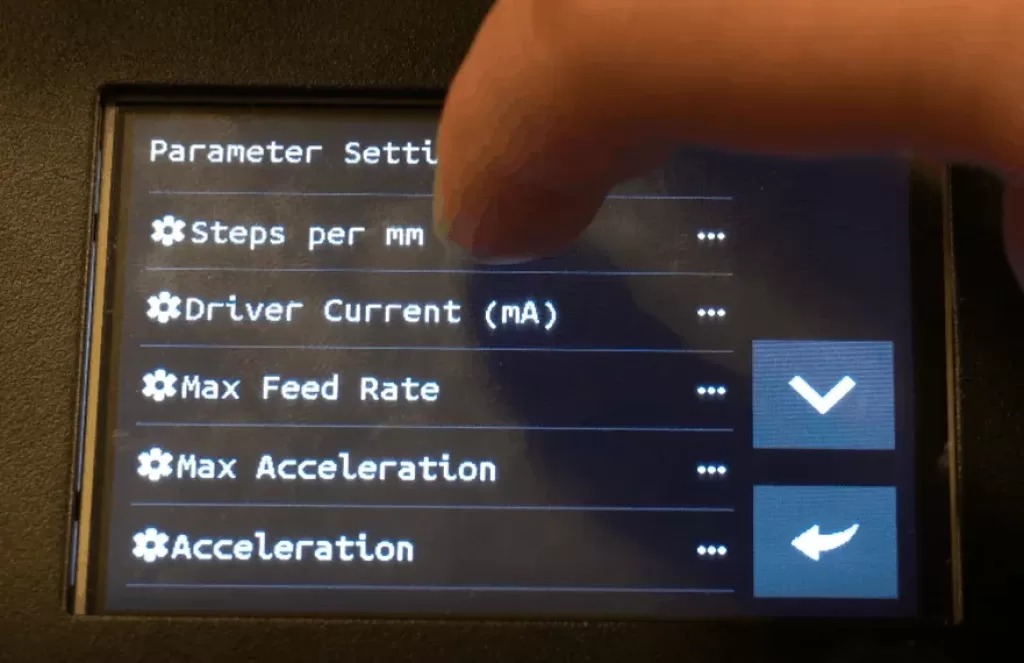
Finally, if you repeat the test, steps 4-5, the result should be 20 mm (or thereabouts).
*Some firmware may have differently structured menus.
*Make sure you save your settings, otherwise they will be deleted when you turn off the printer.
