How we score 3D printers
Every printer review on AdditiveRealm ends with eight scores out of 10 and one overall number. This page shows where those numbers come from, so you can decide how far to trust them. The short version: one fixed rubric, the same eight criteria for every printer, and a clear label on anything nobody measured.
Two kinds of review
Hands-on reviews
Some printers TreiD owns or has owned: a Creality Ender 3 Pro since 2019 (around 1,000 hours), a Biqu B1 since 2022 (around 700 hours), and an Ender 2 Pro he returned after about 100 hours. For these, the scores come from his own numbers: setup time, how often prints failed, what broke and what fixed it. When a hands-on review says “I”, it happened on his bench.
Consensus reviews
For printers TreiD doesn’t own, we build a consensus review from several independent video reviews of that exact model. A review of a sibling, such as the Mini version, doesn’t count. We quote each reviewer by name, link them in the Sources list, and score from where they agree. Where they disagree, the review says so in its own section instead of averaging it away.
Specifications come from the AdditiveRealm printer database, and the database wins over anything a reviewer said. Reviewers do misquote specs: in our Bambu Lab A1 review, two reviewers gave the bed’s maximum as 80°C, which is the A1 Mini’s figure; the A1 is rated to 100°C. Every consensus review opens with the line “AdditiveRealm has not physically tested this printer.”
The eight criteria
Every review scores the same eight criteria, in this order. Each one has ten bands, from 1 to 10, written down in our rubric. Below is what each criterion measures, what the top and bottom of the scale look like, and the indicators we check.
Printing Quality
How good the printed part is: surface finish, how accurately it reproduces detail, and how fine a layer the printer handles well, compared with what the maker claims. A 9 or 10 means smooth surfaces and high precision. A 1 or 2 means noticeable artifacts and visible defects.
| Indicator | High score (9–10) | Low score (1–2) |
|---|---|---|
| Layer resolution | Fine layers print cleanly, as claimed | Fine layers fail or fall short of the claim |
| Surface finish | Smooth walls, even layer lines | Stringing, blobs, rough or gappy surfaces |
| Detail accuracy | Small features and lettering come out crisp | Details smeared, lost or out of size |
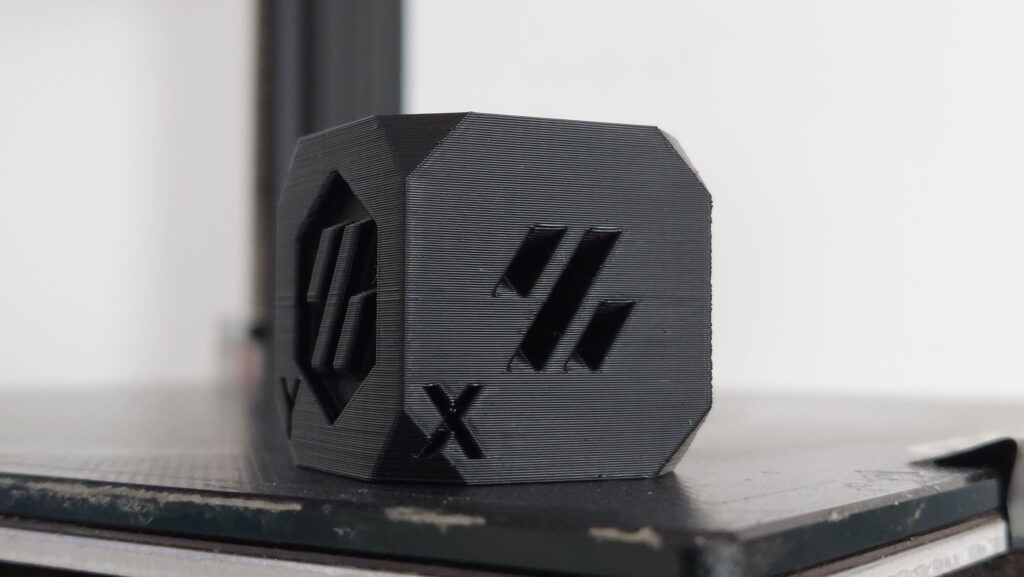
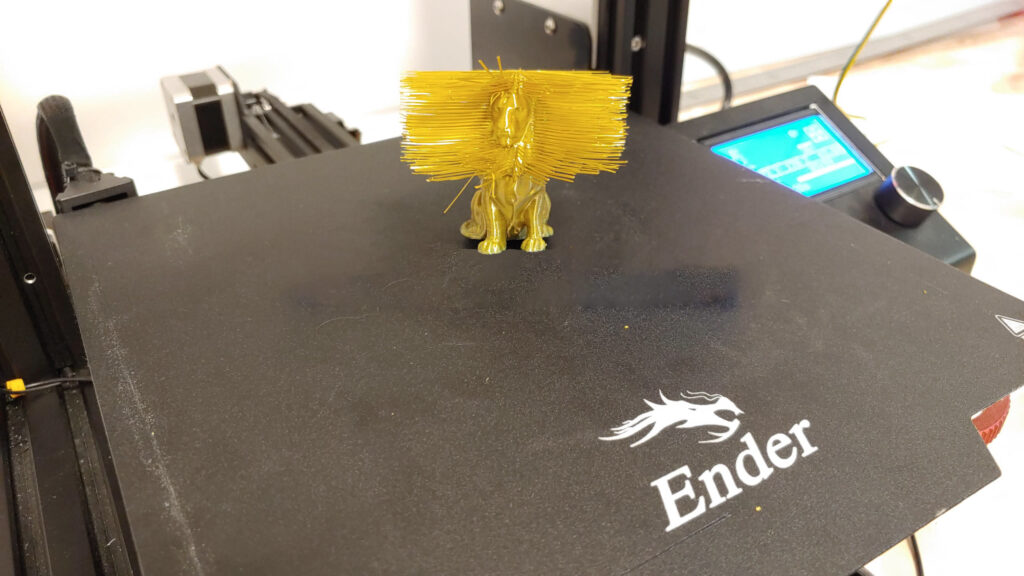
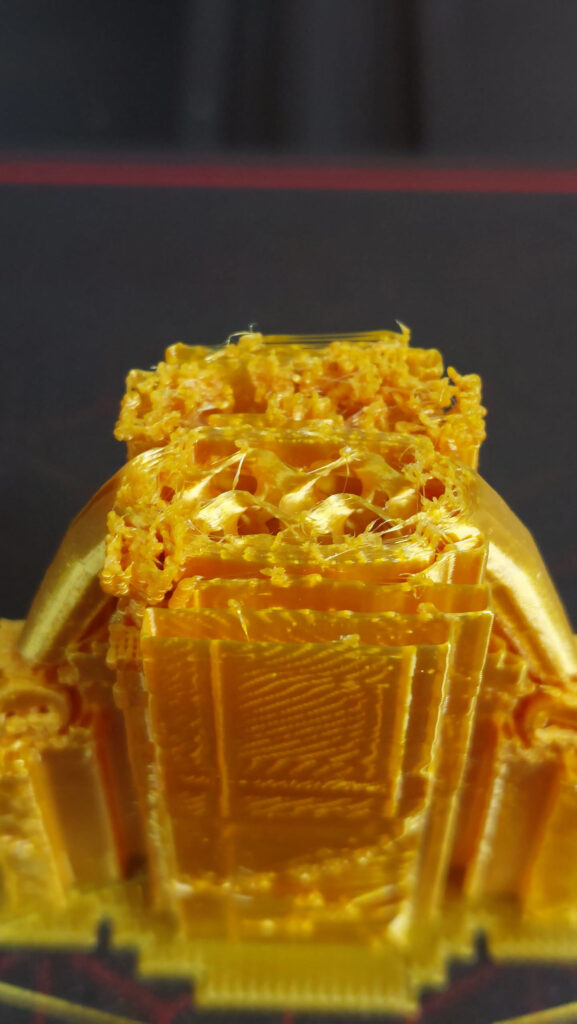
Dimensional accuracy is something we can measure. On TreiD’s Ender 3 Pro, a calibration cube came out 0.2 to 0.4 mm off, depending on how recently he had done maintenance, and Z-wobble was the flaw behind it.
Ease of use
How quickly you get from a sealed box to a good first print, how much calibration the printer needs, and how clear its screen and menus are. A 9 or 10 means setup under 20 minutes and calibration that runs on its own. A 1 or 2 means more than 100 minutes of setup and a confusing, hands-on calibration.
| Indicator | High score (9–10) | Low score (1–2) |
|---|---|---|
| Setup time | Under 20 minutes (a 10 is under 15) | Over 100 minutes |
| Calibration | Fully automatic, no issues | Complicated and repeated often |
| Interface | Very intuitive | Unintuitive, hard to navigate |
The indicators don’t always agree. TreiD’s Ender 2 Pro went from box to first good print in about 35 minutes, which on its own fits a 7. But its bed had to be levelled by hand every 3 to 5 prints, and that pulls the calibration part of the score well down.
Build Quality
What the printer is made of and how well it holds up: the frame, the durability of key parts like the extruder, belts and wheels, and how well it resists shaking at speed. A 9 or 10 means a robust, rigid machine with premium materials. A 1 or 2 means flimsy parts that are prone to damage.
| Indicator | High score (9–10) | Low score (1–2) |
|---|---|---|
| Frame material | Rigid, premium, well machined | Flimsy or poorly made |
| Component durability | Robust parts that last for years | Parts that crack or wear out early |
| Vibration resistance | Stays steady at speed | Visible shaking and ringing |
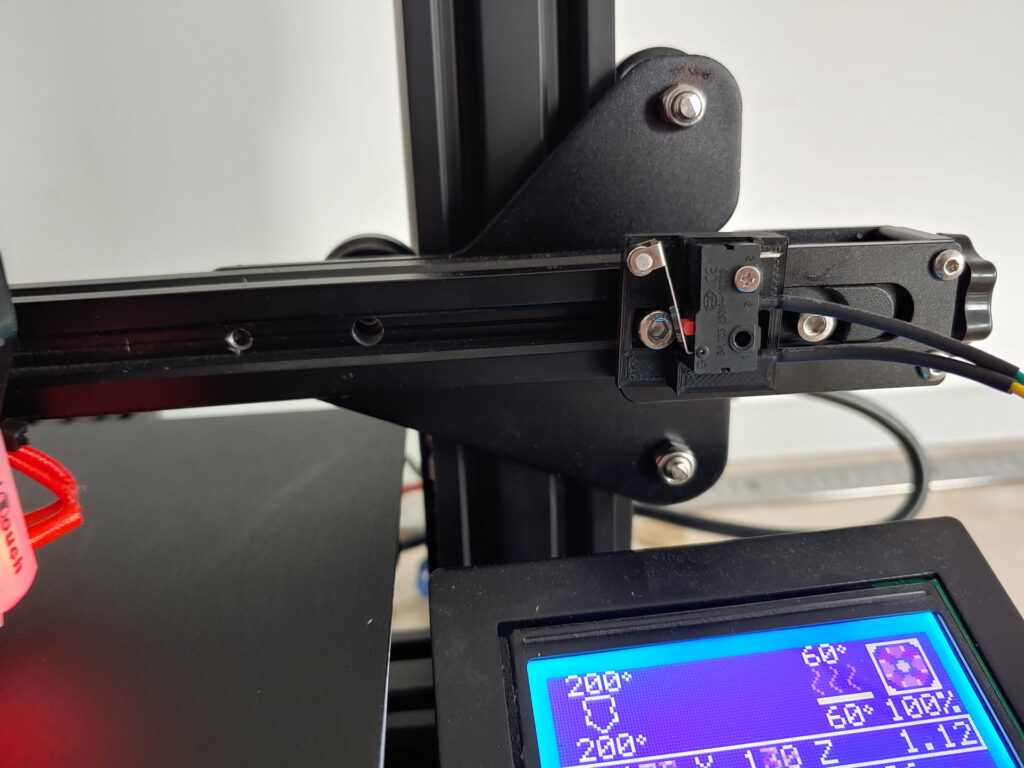
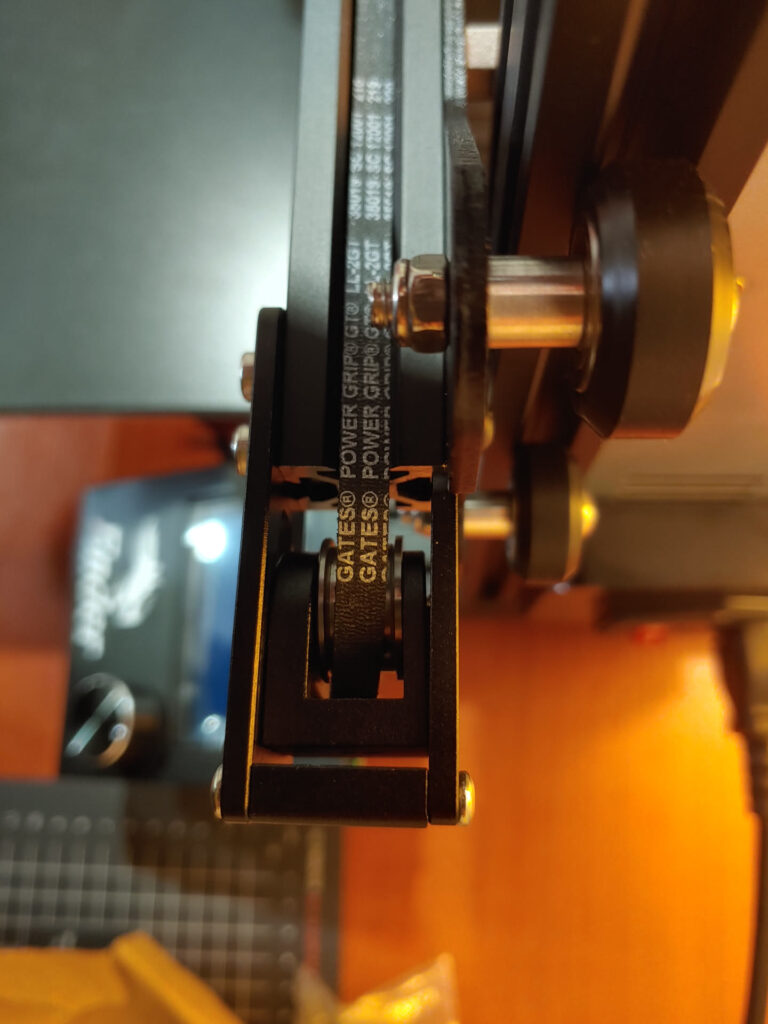
Real examples from TreiD’s printers: the plastic extruder arm on his Ender 3 Pro cracked after around 35 hours of printing. His Biqu B1 visibly shook at higher speeds until he tuned input shaping, and on it the wheels and belts were what wore over the years.
Printing Speed
How fast the printer really finishes prints: its typical and maximum speed, its acceleration, and how efficiently it uses time. A 10 means typical speeds above 350 mm/s with acceleration above 2,000 mm/s². A 1 means typical speeds under 50 mm/s.
| Indicator | High score (9–10) | Low score (1–2) |
|---|---|---|
| Typical print speed | 300 mm/s or more | Under 60 mm/s |
| Maximum speed | Over 350 mm/s | Under 150 mm/s |
| Acceleration (default / max) | 1,800 / 3,000 mm/s² or more | Under 600 / 1,200 mm/s² |
A maker’s top speed is often a number you rarely reach, so a timed real print beats the spec. TreiD’s Biqu B1 shows why: the same test print took 1 hour 45 minutes on stock firmware and 1 hour 20 minutes after he moved it to Klipper with input shaping.
Community Support
How much help you’ll find from other owners: the size of the community, the guides and tutorials available, and how fast forum questions get answered. A 9 or 10 means a community of more than 15,000 users with answers in under 6 hours. A 1 or 2 means fewer than 600 users and replies that take more than two days.
| Indicator | High score (9–10) | Low score (1–2) |
|---|---|---|
| Community size | Over 15,000 users | Under 600 users |
| Guides and tutorials | Comprehensive | Limited or very basic |
| Forum response time | Under 6 hours | Over 48 hours |
We count community size ourselves, only from channels we’ve confirmed exist (Facebook groups, Discord servers, official forums), and print the date we counted. Guide quality and response time are judgements, so they carry an estimate flag. For his Biqu B1, TreiD usually had a usable answer in 7 to 8 hours, which sits in the 6 to 12 hour range of a 7.
Features
What the printer can do out of the box and how far you can take it with upgrades. A 9 or 10 means cutting-edge features, a 400 mm or larger build volume and extensive upgrade options. A 1 or 2 means a basic machine under 150 mm with no upgrade path.
| Indicator | High score (9–10) | Low score (1–2) |
|---|---|---|
| Build volume | 400 x 400 x 400 mm or more | Under 150 mm |
| Multicolour, apps, offline printing | All present | None |
| Ventilation and air filtration | Both built in | Neither |
| Open source and upgrades | Open, many third-party upgrades | Closed, no upgrades |
Reliability
How often a print you start is a print you keep, and how consistently the printer repeats a good result. A 10 means more than 90% of prints succeed. A 1 means fewer than half do.
| Indicator | High score (9–10) | Low score (1–2) |
|---|---|---|
| Success rate | Over 85% (a 10 is over 90%) | Under 55% |
| Consistency | Highly or perfectly consistent | Highly inconsistent |
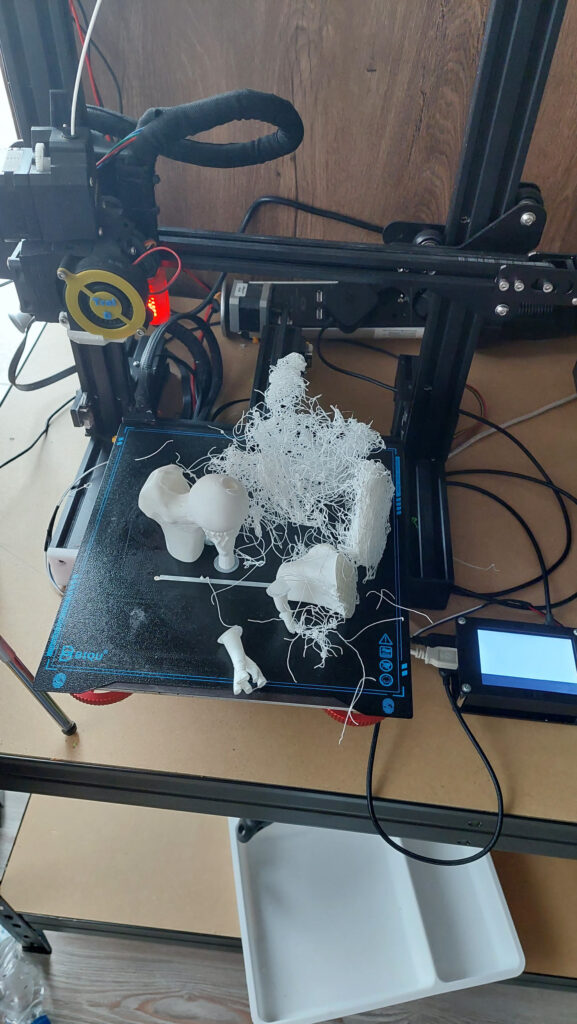
About 20% of the prints on TreiD’s Biqu B1 failed, mostly from PTFE clogs. A success rate around 80% sits on the 80 to 85% band, so the B1 scores 8 for reliability. His Ender 2 Pro failed at least 45% of its prints, from clogs and heat creep, which puts it in the bottom bands.
Customer Support
How the manufacturer treats owners who need help: how fast support replies, whether the problem gets solved, and the warranty and service behind it. A 9 or 10 means a reply within 6 hours and an issue properly fixed. A 1 or 2 means more than 48 hours and no real fix.
| Indicator | High score (9–10) | Low score (1–2) |
|---|---|---|
| Response time | Under 6 hours | Over 48 hours |
| Problem resolution | Exceptional, issue solved | Poor or ineffective |
When TreiD contacted Creality about his Ender 2 Pro, the reply took about 7 days and didn’t solve the issue. That is a bottom-band result. Most video reviewers never open a ticket, so in consensus reviews we often score from what the maker did in public, such as how it handled a recall, and flag the score as an estimate.
How to read a score line
Under every score in a review there’s a short block that tells you what the number means and what it rests on. Here’s an example built from our Bambu Lab A1 review:
Score: 8.5/10 · On our review scoring, community support 8.5 sits between 8: Very large and active community, quick responses and many resources, and 9: Massive community, comprehensive resources and quick support
Measured: official Bambu Lab forum 168K members (11K active in 30 days), brand-wide (counted 2026-10-12).
⚠ Estimate: guide quality and forum response time are estimated from reviewers; the evidence sits between two bands, so the half point is a judgement call.
Each part of that block means one thing:
- Score: X/10 · … is the score, followed by the rubric’s own words for that band. A half point means the evidence sits between two bands.
- Measured: is something we counted ourselves, with the date, such as community member counts. In hands-on reviews it also covers TreiD’s own numbers.
- Manufacturer spec: is the maker’s figure from our database, such as a rated top speed. We haven’t verified it.
- ⚠ Estimate: appears when nobody measured the thing being scored, when only one reviewer covered it, or when the score rests on judgement. Read those scores with more caution.
How the overall score is worked out
The overall score is the plain average of the eight criteria, rounded to one decimal. There’s no weighting and no adjustment. The Bambu Lab A1 scored 8.5, 9, 8, 9, 8.5, 7, 9 and 6, which add up to 65; divided by 8 that’s 8.125, shown as 8.1.
Price is not one of the eight criteria, so it never moves the score. We talk about value for money in the review itself.
Where prices come from
The price in “Where to buy it” is the one the manufacturer’s official store publishes on its own product page. We read it once a day and show it only in euros or US dollars; a store that answers in any other currency is skipped. Once there are enough readings, a price-history chart appears under it.
When we also list a marketplace offer, for example on AliExpress or Amazon, it’s only after checking that it’s the complete, exact printer and not a part or a different model. Some buy links are affiliate links: if you buy through them, AdditiveRealm may earn a commission at no extra cost to you (see our affiliate disclosure). That money never touches a score.
What we don’t do
- We don’t sell scores, placements or better positions in a review. A manufacturer can’t pay to change a number.
- We don’t invent experience. First-person stories come only from what happened on TreiD’s own printers, and a printer we haven’t used is labelled as not physically tested.
- We don’t build a review from videos of a different model, and we don’t take specifications from memory or from a reviewer when the database has them.
- We don’t hide disagreement. When reviewers contradict each other, the review shows both sides.