
Estimated reading time: 19 minutes
Key Takeaways
- 3D printing transforms abstract STEM concepts into tangible, hands-on learning experiences that align with NGSS standards.
- Starting with PLA filament and guided slicing workflows makes classroom adoption affordable, safe, and predictable.
- Subject-specific project menus—from anatomy models to robotics chassis—build iterative design skills and data literacy.
- Structured lesson planning, clear assessment rubrics, and robust troubleshooting practices ensure consistent learning outcomes.
- Careful budgeting, safety protocols, and equitable access keep 3D printing sustainable and inclusive for all students.
Table of Contents
- Why 3D Printing Elevates STEM Learning
- Getting Started in Classroom or at Home
- STEM 3D Printing Projects: Subject-by-Subject Menus
- Step-by-Step Exemplar Builds
- Lesson Planning & Assessment
- Troubleshooting & Quality Tips
- Resources & Model Libraries
- Safety, Ethics & Policies
- Materials & Budget Planning
- Conclusion & Next Steps
- Frequently Asked Questions
I’ve watched STEM 3D printing projects transform ho-hum lessons into buzzing, hands-on labs that students can’t wait to join. By “educational 3D printing,” I mean the use of additive manufacturing tools and workflows—CAD, slicing, and printing—to produce tangible models that reinforce curricular standards, build STEM skills, and boost engagement (source). This post is my best field-tested guide: curriculum-aligned ideas from anatomy models and molecular kits to engineering prototypes, robotics builds, and science fair 3D printing—complete with learning targets, printable file tips, and ready-to-use assessment rubrics (source).
Quick-win confidence boosters you can print this week:
- Simple geometric solids for volume/surface area (20–30 g, 45–60 minutes).
- Small mechanical gears for torque and ratio demos (15–25 g, 45–75 minutes).
- Color-coded molecule connectors for chemistry labs (10–15 g, 30–50 minutes).
Why 3D Printing Elevates STEM Learning

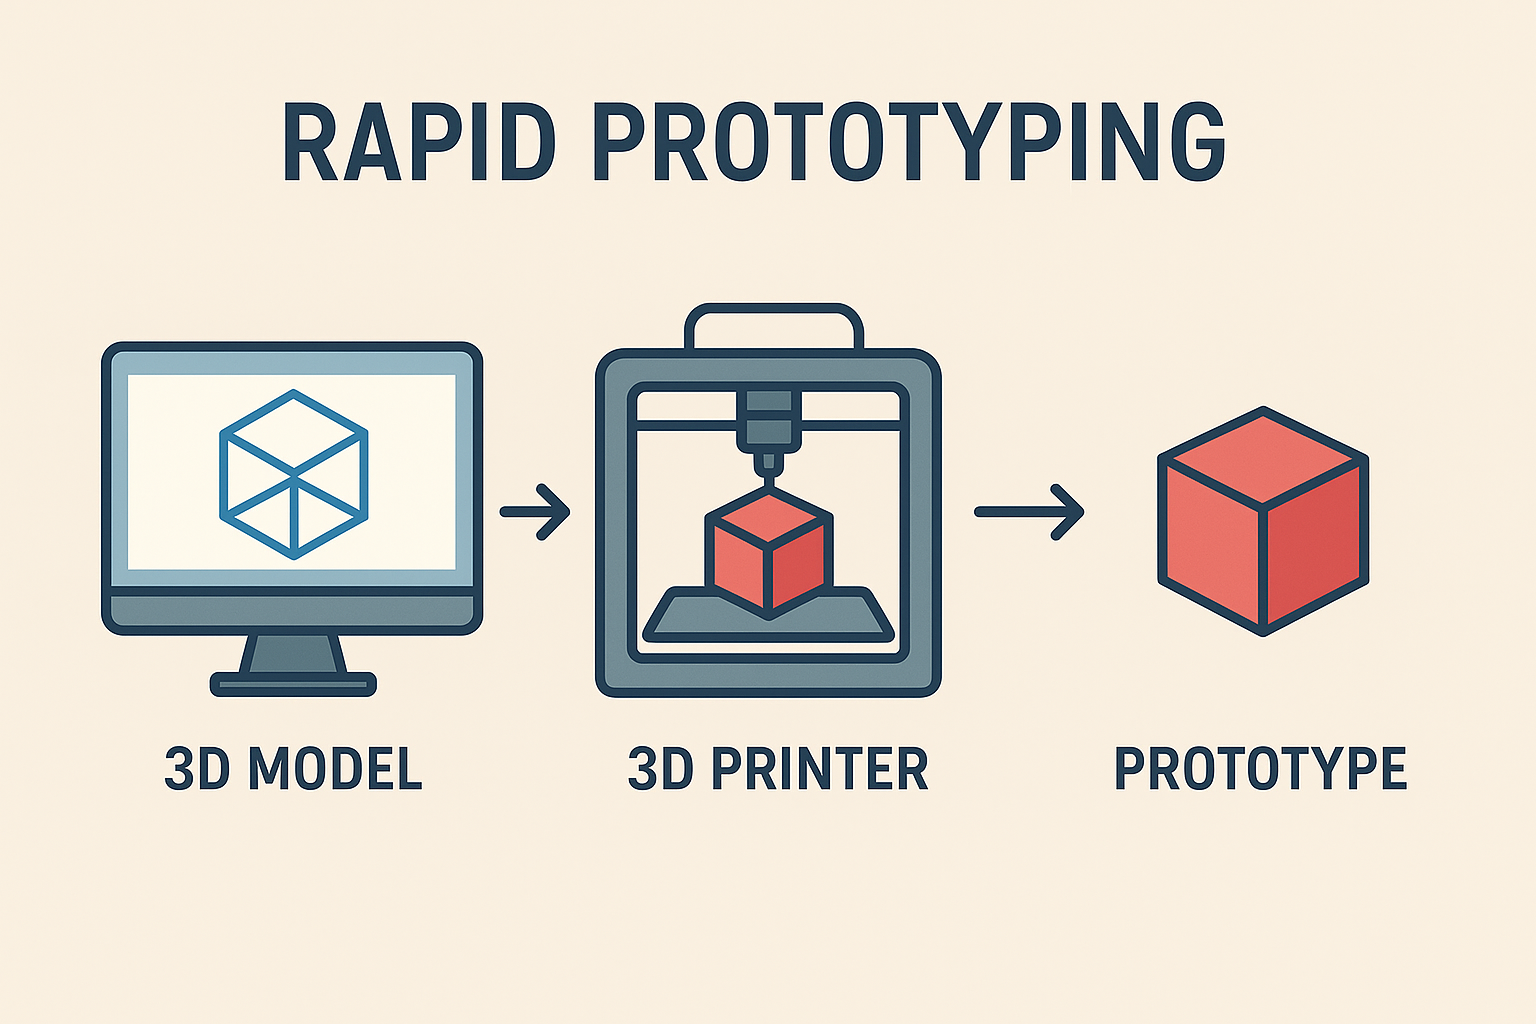
If you bring a 3D printer into a classroom, students immediately will start asking better questions. Educational 3D printing turns abstract ideas into something you can hold, measure, and iterate. That shift powers inquiry-based learning, rapid prototyping, and real-world problem solving—exactly the design habits employers and universities value (source). Teachers benefit most from structured, hands-on lesson plans that emphasize iterative design and testing (source).
A few practical wins I’ve seen:
- Iteration becomes normal. Students tweak CAD, reprint, and test within a week.
- Data literacy improves. They measure parts, compare tolerances, and log results.
- Engagement spikes. A printed vertebra or gearbox is a “wow” moment.
Equity and access matter too. PLA is a great starter filament thanks to a favorable safety profile and ease of use, making low-cost classroom adoption possible (source). Combine shared 3D printers with thoughtful queues and you can serve whole classes affordably (source).
Safety never takes a back seat. I post heat zone markers around the printer, assign two students as “print captains” for supervision, and treat filament handling (even PLA) with caution. Clear roles and print logs keep things orderly and safe (source).
Getting Started in Classroom or at Home
Before we dive into project menus, let’s cover the basics I teach on day one. This foundation makes educational 3D printing predictable instead of stressful.
- Printer basics: Most school 3D printers are FDM (Fused Deposition Modeling). You’ll hear about bed adhesion (glue stick, PEI sheet), support structures (temporary scaffolding for overhangs), and tolerances (the tiny gaps that let parts fit). Students love a tolerance test plate on day two.
- Filaments: Start with PLA. It’s easy, low warping, and widely recommended for classrooms (source). You can move into PETG for tougher parts or TPU for flexible pieces like vibration dampers and prop guards later.
- Slicing workflow: I run OrcaSlicer or PrusaSlicer demos covering:
- Layer height: 0.2 mm for speed, 0.12 mm for detail.
- Infill: 10–20% grid or gyroid for most models.
- Walls: 2–3 perimeters for strength.
- Speed: 45–60 mm/s for reliable classroom prints.
- Time and cost examples:
- Geometric solid: 20 g × $0.025/g ≈ $0.50; ~45 minutes.
- Small gear set: 25 g ≈ $0.63; ~60–75 minutes.
- Molecule connectors (class set of 20): 200 g ≈ $5.00; ~4 hours.
- Classroom management:
- Batch prints by color or project, and use a sign-up queue.
- Reserve overnight for big builds and daytime for fast “learning chunks.”
- Maintain a “failed print graveyard” for measuring, material testing, and practice (source).
If you’re exploring mechanical parts 3D printing for the first time, print a calibration cube and a tolerance gauge. They’re boring for five minutes and brilliant for the rest of the unit.
STEM 3D Printing Projects: Subject-by-Subject Menus

I stick to a simple template for each subject: name, learning goals, materials, steps, extensions, and standards alignment. It keeps everything aligned to NGSS while leaving room for creativity (source).
1) Biology: Anatomy Models 3D Printing

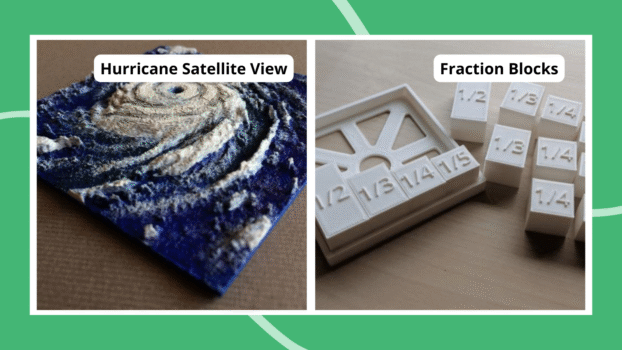
- Models: Heart (healthy vs. diseased), skull, vertebrae, neuron pathways—great for structure–function lessons (source).
- Learning goals:
- Describe structure–function relationships in body systems.
- Compare pathology vs. healthy tissue geometries.
- Materials: PLA filament, calipers, labeling cards, case study sheets.
- Steps:
- Print labeled models (different colors for regions).
- Students measure features and annotate diagrams.
- Case study: Compare a normal and enlarged heart model; infer health implications.
- Extensions:
- Students design a joint hinge (mini knee) to model ligaments and range of motion.
- Standards: Align to NGSS LS1 (Structure and Function).
Personal tip: Students light up when given anatomical “mystery models” in opaque bags. They guess the organ, then verify by measuring and matching to a diagram.
2) Chemistry: Chemistry Molecular Models
- Models: Ball-and-stick molecules, crystal lattice cubes, chiral isomer pairs (source).
- Learning goals:
- Apply VSEPR to predict geometry and bond angles.
- Explain polarity and intermolecular forces using 3D structures.
- Materials: Color-coded atoms, snap-fit connectors, protractors.
- Steps:
- Print atom balls with embedded letters (C, H, O, N).
- Assemble assigned molecules and measure angles.
- Unknown molecule challenge: teams deduce identity from geometry and bonding.
- Extensions:
- Print ionic vs. covalent lattice cubes; discuss lattice energy trends.
- Standards: Align to HS-PS1 (Matter and Its Interactions).
3) Physics: Physics Demonstration Models
- Models: Adjustable pendulum, gear trains, cam-and-follower, wave interference models, a safe projectile launcher.
- Learning goals:
- Investigate Newton’s laws, energy transfer, and harmonic motion.
- Analyze gear ratios and torque.
- Materials: PLA parts, string, washers, protractors, smartphone timer.
- Labs:
- Predict vs. measure pendulum period; plot data.
- Measure torque output at different gear ratios; compare efficiency.
I love how a printed cam flips the light bulb on for simple harmonic motion. Students see motion profiles instead of imagining them.
4) Engineering: Engineering Prototypes & Mechanical Parts 3D Printed

- Challenges: Wind turbine blade optimization, bridge trusses with gusset plates, snap-fit enclosures.
- Parts library: Printable gears, pulleys, screw threads, and fastener test plates.
- Learning goals:
- Work the design cycle (define–ideate–prototype–test).
- Understand tolerances, material properties, and failure modes.
- Extensions:
- Conduct a small DOE (Design of Experiments) varying infill or wall count to test strength.
Real talk: Nothing teaches tolerances like a snap-fit that won’t snap. Students measure the interference, adjust the CAD offset by 0.2 mm, and celebrate when it clicks.
5) Robotics: Robotics 3D Printing
- Models: Custom robot chassis, servo mounts, cable guides, and sensor housings.
- Integration:
- Design around real components. I have students import a servo’s STEP file, then size mounting holes correctly.
- Starter Arduino line-following code:
// simple line-following pseudocode
readLeft = analogRead(A0);
readRight = analogRead(A1);
if (readLeft > threshold && readRight < threshold) turnRight();
else if (readRight > threshold && readLeft < threshold) turnLeft();
else forward();- Tips:
- Keep walls thick at motor mounts; use heat-set inserts for durability.
6) Drones: Drone Parts 3D Printing
- Parts: Prop guards, landing feet, lightweight frame segments, GPS/sensor housings.
- Considerations:
- Weight is king. Use low infill, thin walls, and honeycomb structures.
- Vibration damping: TPU inserts work wonders near cameras and flight controllers.
- Check local UAV rules before flying on campus; log flights and ensure spotters are present.
7) Competitions & Showcases: Science Fair 3D Printing
- Project concepts:
- Wind turbine blade angle vs. power output (measure voltage).
- Infill percentage vs. beam deflection.
- Molecular geometry vs. boiling point correlation.
- Experimental design tips:
- Control variables ruthlessly; change one factor at a time.
- Calibrate scales and measurement tools before trials.
- Data visualization:
- Use scatter plots with best-fit lines.
- Photograph prototypes consistently on a neutral background.
- Judging alignment:
- Hypothesis clarity, methodology rigor, reproducible results, and a clean display board.
I remind students: your 3D prints are the “apparatus”. Your data is the story.
Step-by-Step Exemplar Builds
Here are five projects you can use to anchor units. Each includes objective, files, CAD tips, slicing, printing, assembly, and total print time.
1) Gear Ratio & Torque Tester (physics demonstration models, mechanical parts 3D printing)
- Objective: Explore how gear ratios affect torque and rotational speed.
- Required files: Spur gears (8T, 16T, 24T, 32T), base plate, handle, torque arm.
- CAD tips: Add 0.2 mm clearance for gear axles; fillet edges for strength.
- Slicing: 0.2 mm layer height; 20% infill; 3 walls; no supports for gears.
- Print parameters: PLA, 200–210°C nozzle, 60°C bed.
- Assembly: Press-fit or use M3 screws; attach torque arm with a weight hook.
- Total time: 4–5 hours for full set; individual gears ~30–50 minutes each.
Assessment: Students calculate gear ratios, predict torque changes, and compare measured vs. theoretical outcomes.
2) Chemistry Molecular Models Kit (chemistry molecular models)
- Objective: Build molecules, measure bond angles, and infer polarity.
- Files: Atoms (C, H, O, N) with sockets; snap-fit connectors at preset angles (109.5°, 120°, 180°).
- CAD tips: Color-code atoms; emboss letters; test connector tolerance at 0.15–0.25 mm clearance.
- Slicing: 0.16–0.2 mm layers; 15% infill; slow speed for small parts (35–45 mm/s).
- Print parameters: PLA; print multiple copies via plate-duplication.
- Assembly: Sort into kits; include protractors and polarity cards.
- Total time: 3–4 hours for a class set of connectors; atoms 2–3 hours.
Assessment: Mystery molecule build, labeled diagrams, and angle measurements with ±5° accuracy.
3) Comparative Heart Models + Case Study (anatomy models 3D printing)
- Objective: Compare healthy versus hypertrophic cardiomyopathy heart geometry.
- Files: Two heart models with sliced cross-sections and highlighted regions.
- CAD tips: Use a 2-color print (base + highlighted thickened wall); add slice planes for easy printing.
- Slicing: 0.2 mm layers; 10% gyroid; supports only for extreme overhangs.
- Print parameters: PLA; slow outer walls for detail (25–30 mm/s).
- Assembly: Label coronary arteries, ventricles, and septum; attach case-study placards.
- Total time: 6–8 hours combined.
Assessment: Students infer health impacts from measured wall thickness and chamber volume; short written analysis.
4) Modular Robot Chassis With Sensor Mounts (robotics 3D printing)
- Objective: Build a base robot with adjustable sensor and motor mounts.
- Files: Chassis plate, side rails, motor brackets, caster mount, sensor housings.
- CAD tips: Import servo/DC motor models to set hole spacing; include slots for belt tension.
- Slicing: 0.2 mm layers; 25–30% infill near mounts; 3–4 walls; supports for overhangs on housings.
- Print parameters: PLA for main; TPU for cable guides if available.
- Assembly: Use M3 screws and heat-set inserts; route wires through channels; test with line-following code.
- Total time: 7–9 hours for full set of parts for one robot.
Assessment: Build log with photos, wiring diagram, and a demo navigating a taped course.
5) Snap-Fit Electronics Enclosure + Tolerance Coupons (engineering prototypes)
- Objective: Design an enclosure that snaps shut and fits a small microcontroller.
- Files: Bottom case, top lid, standoffs, snap tabs, tolerance test plate (0.1–0.5 mm increments).
- CAD tips: Design snaps with 0.3–0.4 mm clearance; add chamfers for easier insertion.
- Slicing: 0.2 mm layers; 15–20% infill; 3 walls; orient so snaps build “on edge” for strength.
- Print parameters: PLA; consider PETG for heat tolerance.
- Assembly: Pilot fit the tolerance coupons; adjust CAD and reprint if needed.
- Total time: 4–6 hours for enclosure + coupons.
Assessment: Rubric on fit accuracy, documentation of iterations, and final usability test.
Lesson Planning & Assessment
STEM 3D printing projects thrive on strong planning. I use a repeatable structure:
- Learning objectives:
- Biology: Explain how structure supports function in a system.
- Chemistry: Predict geometry and polarity using VSEPR rules.
- Physics: Analyze motion using theoretical and measured data.
- Engineering: Apply the design cycle to solve a defined problem.
- Robotics: Integrate sensors and code to complete a task.
- Timing:
- Day 1: Intro + slicing basics.
- Day 2–3: Printing + guided labs.
- Day 4: Data analysis and redesign.
- Day 5: Presentations and reflections.
- Materials list: Printer, PLA, calipers, protractors, basic hand tools, safety glasses.
Differentiation:
- Elementary: Use pre-modeled prints. Focus on labeling, measuring, and describing.
- Middle school: Modify print parameters, assemble kits, do basic data logging.
- High school: Full CAD redesigns, DOE studies, optimization, and formal documentation (source).
Sample rubric criteria:
- Dimensional accuracy (±0.3 mm target).
- Clarity and completeness of design documentation.
- Reflection journal with evidence of iteration.
- Presentation quality and data visualization.
These patterns align naturally with educational 3D printing best practices and standards-based instruction (source).
Troubleshooting & Quality Tips
Every teacher becomes a print whisperer. Here’s my quick guide:
- Common failures:
- Warping: Corners lift off the bed.
- Layer separation: Weak adhesion between layers.
- Stringing: Thin hairs between features.
- Fixes:
- Re-level the bed; clean with isopropyl alcohol; add a small brim.
- Increase nozzle temp by 5–10°C; slow down; increase wall count.
- Tune retraction distance/speed; raise travel speed; dry filament.
- Supports:
- Orient parts to minimize overhangs.
- Use tree supports in Cura for delicate geometries.
- Post-processing:
- Light sanding with 220–400 grit.
- Spray paint for color coding; acetone smoothing only for ABS with proper ventilation.
- When to redesign vs. re-slice:
- If features won’t print even at low speed and fine layers, redesign thicker walls or larger clearances.
- If geometry is sound, tweak layer height, temps, and retraction first.
Resources & Model Libraries
I keep a short, high-quality list of go-to resources for educational 3D printing and STEM 3D printing projects:
- Stratasys “Seven 3D Printing STEM Projects” white paper—lesson ideas and classroom tips (source).
- MakerBot lesson plan hub—free projects and management strategies (source).
- Kids Park Education: Rapid prototyping in middle school STEM (source).
- NIH 3D Print Exchange for biology and medical models excellent library of vetted models.
- NGSS overview for alignment Next Generation Science Standards.
CAD tools:
- Tinkercad for elementary and quick wins.
- Fusion 360 for advanced design and assemblies.
- MolView (or similar) to convert molecules to STL for printing.
Starter STLs for this post:
- Modular molecule model set
- Building sets designed by Steamfie3D(give him some kudos for his great work)
Safety, Ethics & Policies
No matter how fun robotics 3D printing gets, safety is non-negotiable.
- Supervision: Only trained students operate printers. Keep a heat map displayed around the bed and nozzle.
- Materials: Prefer PLA for most prints; store filaments dry and labeled.
- PPE: Safety glasses for post-processing; gloves for handling sharp tools.
- Drones: For drone parts 3D printing, follow local UAV regulations, register as required, and never fly near people. Enforce battery handling protocols and LiPo charging safety.
- Equity: Ensure every student has access to the design process, not just the final print. Rotate roles: CAD designer, slicer, operator, data collector, and presenter.
These practices align with classroom-ready guidance from industry and education partners (source).
Materials & Budget Planning
Here’s how I plan filament and time for a typical unit. Prices assume ~$25 per 1 kg spool of PLA.
- Quick wins:
- Geometric solid set (5 pieces): ~100 g, ~$2.50, 3–4 hours.
- Gear set (8, 16, 24, 32T): ~120 g, ~$3.00, 4–5 hours.
- Molecule connectors (class set): ~200 g, ~$5.00, 4–5 hours.
- Biology heart pair: ~300 g, ~$7.50, 6–8 hours.
- Pendulum + cam follower: ~150 g, ~$3.75, 4–5 hours.
- Robot chassis: ~250–300 g PLA + 30 g TPU (optional), ~$7.50–$9.00 PLA + ~$1.20 TPU, 7–9 hours.
- Enclosure + coupons: ~120 g, ~$3.00, 4–6 hours.
- Drone prop guards (set of 4, TPU): ~80–120 g, ~$3.20–$4.80, 4–6 hours.
Kit sharing strategies:
- Design class sets of swappable parts (e.g., gear kits) to reuse across periods.
- Reclaim failed PLA for practice measurement or as infill filler in demonstrations.
- Keep a “filament ends” bin for small connectors and test coupons.
Conclusion & Next Steps
Across subjects, STEM 3D printing projects make learning visible. Educational 3D printing helps students touch complex ideas, test assumptions, and communicate findings like real engineers and scientists (source). Start your first STEM 3D printing projects today—download our STL starter pack, print settings cheat sheet, and lesson planner templates.
Frequently Asked Questions
Q: What is the safest filament for classroom beginners?
A: PLA is widely recommended because it prints at lower temperatures, produces minimal fumes, and offers reliable adhesion—perfect for supervised school environments.
Q: How can I keep printing costs manageable for large classes?
A: Batch small parts together, share class sets of reusable kits (like gears or molecules), and schedule big prints overnight to maximize printer uptime while minimizing filament waste.
Q: Do students need prior CAD experience to start?
A: No—tools like Tinkercad are intuitive for beginners. Many projects start with pre-modeled files, allowing students to focus on measurement and analysis before progressing to full CAD design.