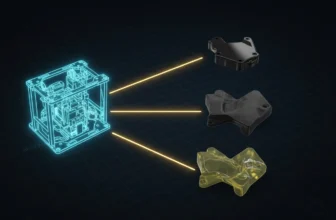
Introduction
Did you know that the 3D printing market is expected to reach $55.8 billion by 2027? That’s a lot of potential for awesome home decor! If you’re anything like me, you’ve probably dreamed of creating custom pieces for your home, and let me tell you, it’s totally achievable with the right 3D printer. This guide dives into the best 3D printers of 2025 that will help you create beautiful and functional home decor. We’ll be looking at the top contenders, comparing their features and helping you choose the perfect one to bring your design visions to life. From vases to wall art, let’s get printing!
Why Choosing the Right 3D Printer is Key for Home Decor
Alright, so before we get into the actual printer reviews, let’s talk about why it’s so dang important to pick the right one for making home decor. I’ve learned this the hard way, believe me. When I started, I just grabbed the first cheap printer I could find online. Big mistake. It was like trying to build a house with a toy hammer. Different printers have completely different capabilities. Some are great for tiny, detailed models, while others can handle larger, more functional pieces. Some printers are really picky about the type of material you use, and others can handle almost anything you throw at them.
You also have to consider things like the size of the printing area, which is a big deal if you want to make larger items like shelves or lamp bases. It can be super frustrating to waste hours on a print, only to have it fail halfway through because your printer just isn’t up to the task. That’s where research comes in, my friends! You want a printer that’s going to let you create the designs you want without wanting to throw it out of the window. The features on the printer itself are super important too, little things like auto-leveling, a heated bed, and the type of nozzle all have an effect on the reliability of the print and how easy it is to use. So basically, if you want to make some killer 3D printed home decor, then choosing the right printer is the absolute first step!


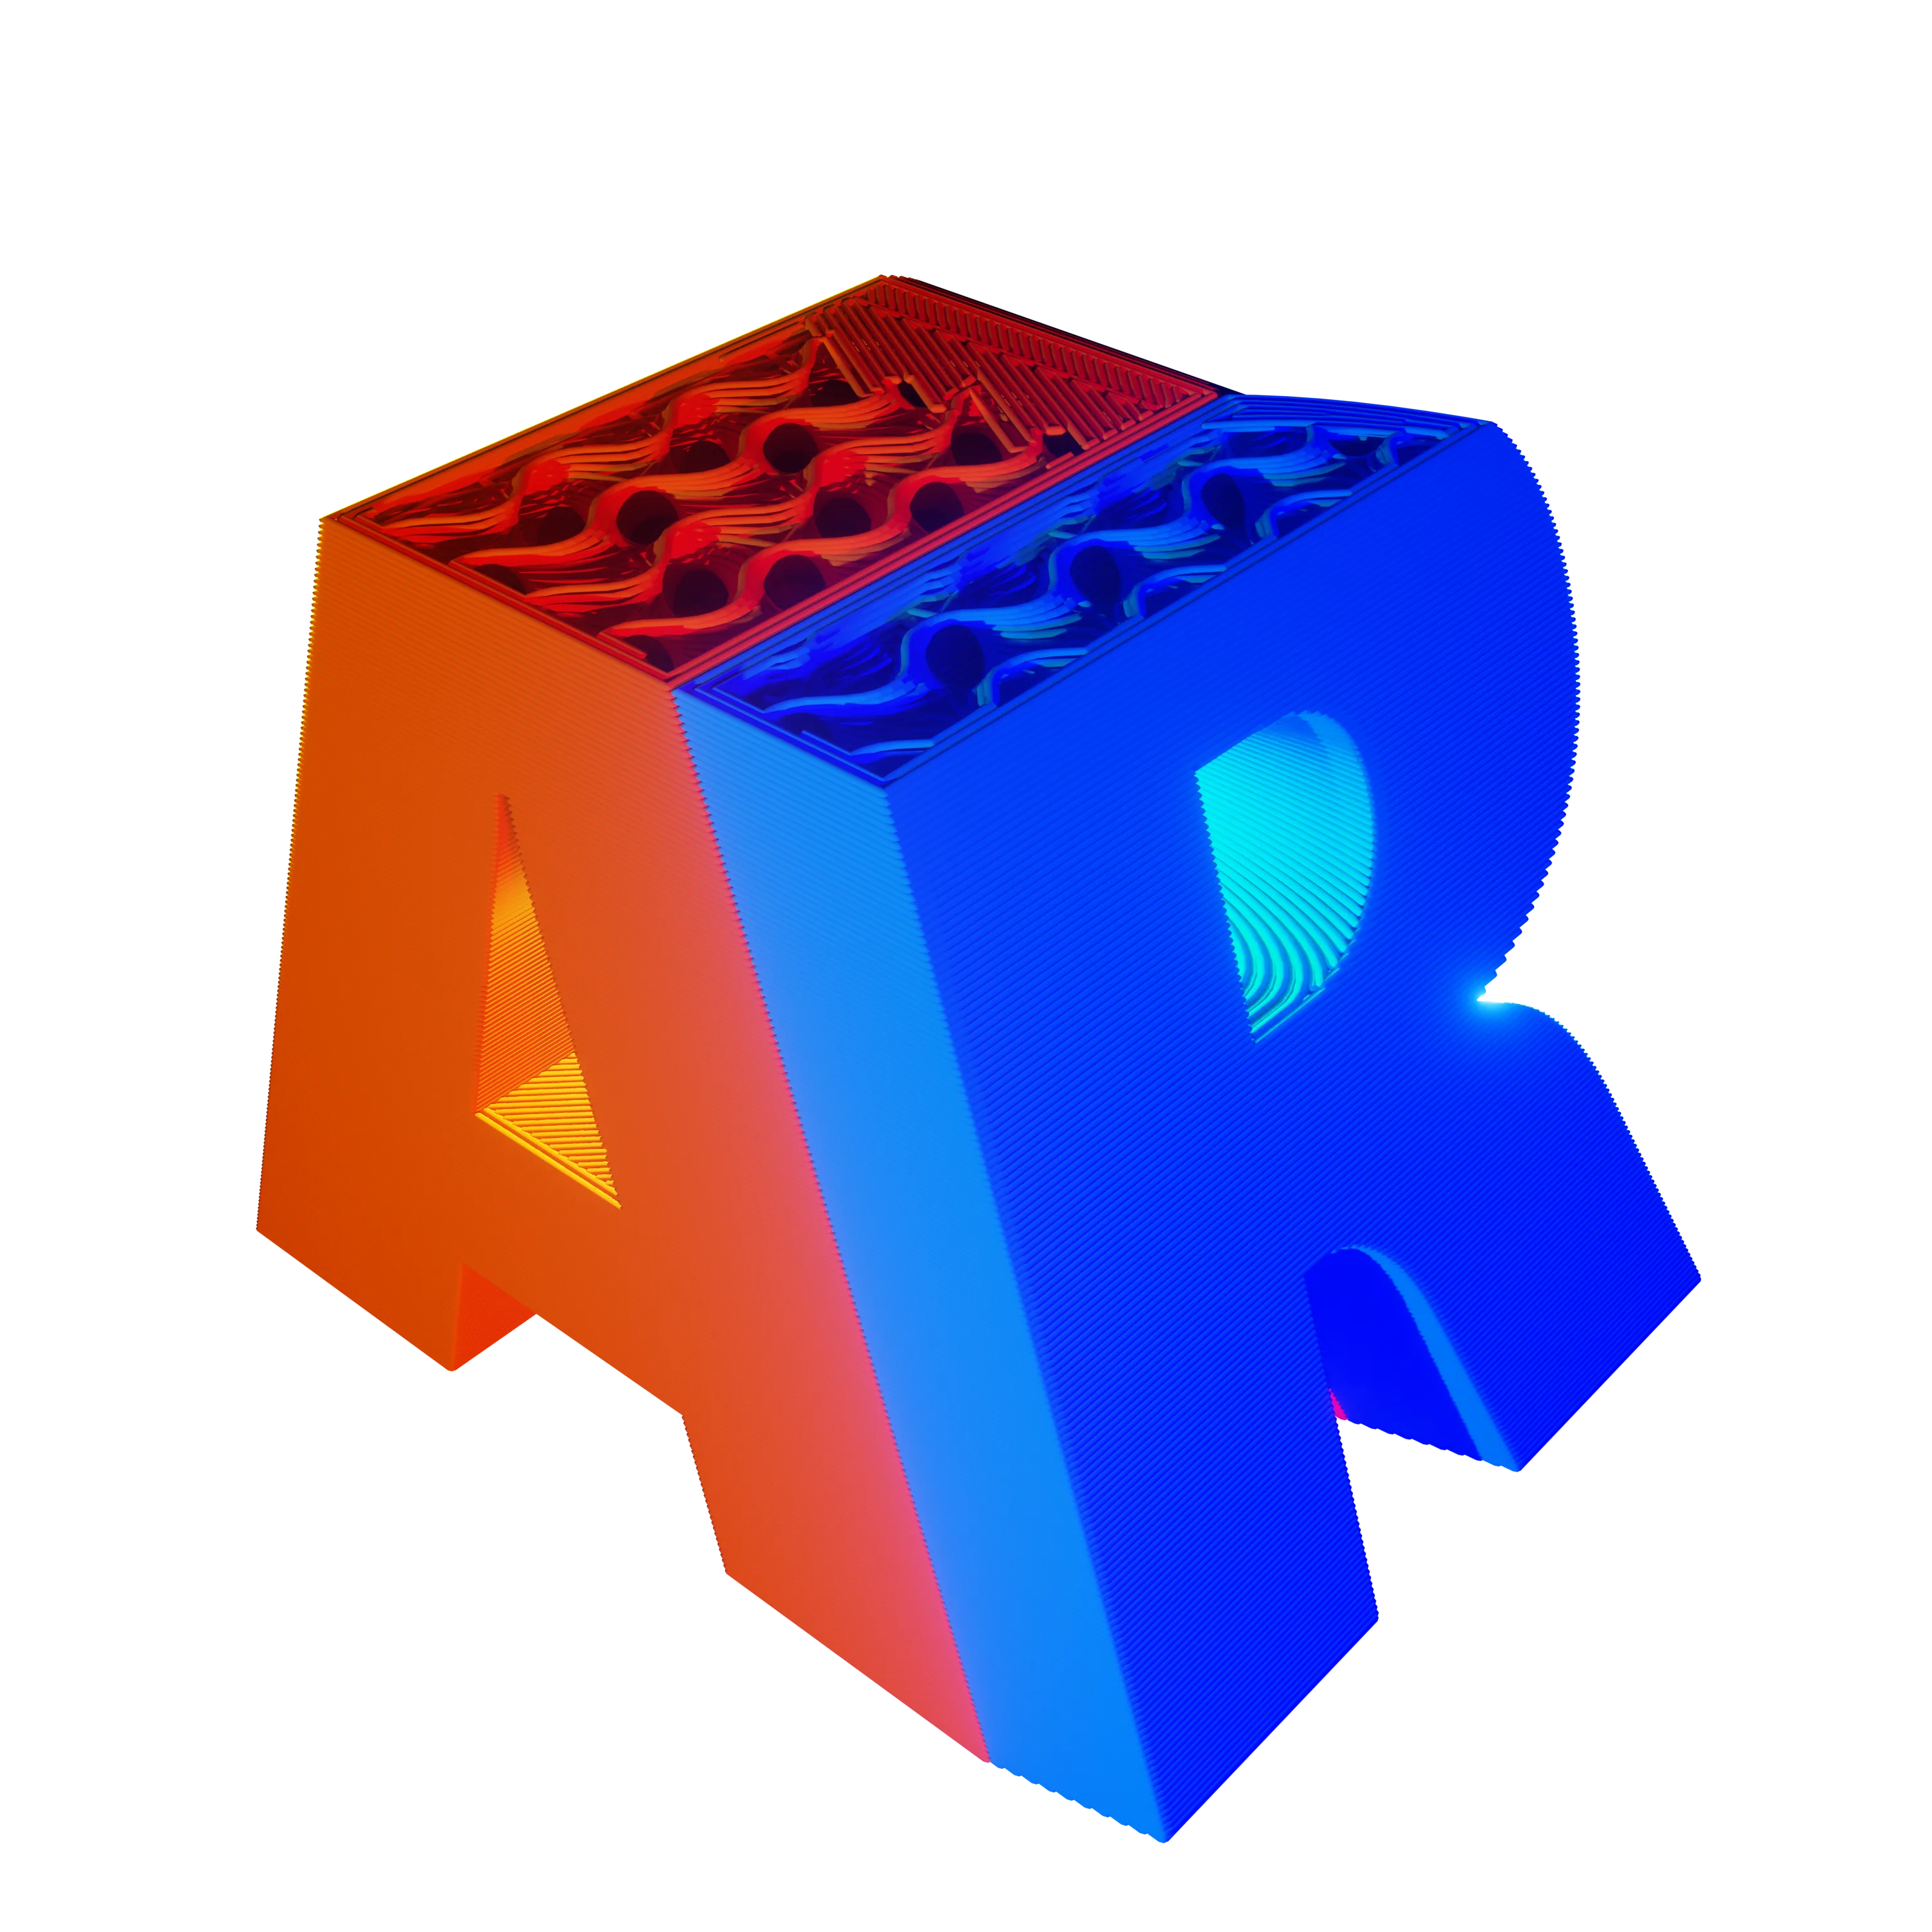
Comparison Table: Quick Look at Key Specs

Enclosed design
Multi-color printing
Proprietary parts

Easy assembly
Direct drive extruder
Lacks filament run-out sensor

Reliable

Multi-color capability

Handles various materials
Go to 3D printers database page to compare the full technical specifications.
BambuLab P1S: The High-Performance Decorator
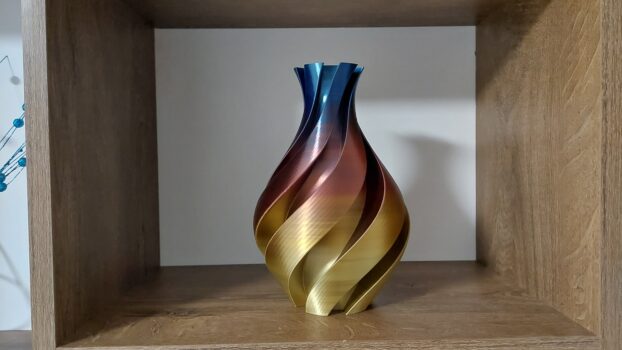
Alright, let’s talk about the BambuLab P1S. Man, this thing is a beast, especially for home decor projects. When I first got my hands on one, I was honestly a little intimidated – it’s this sleek core XY printer with a 256mm cubed build volume, which sounds technical but basically means it’s perfect for most home decor stuff. Once I got the hang of it, it was game over. I started with a simple vase, and the detail it achieved was unreal, thanks to its super stable printing system.
The setup process is surprisingly straightforward – you just scan a QR code, watch their setup video, and let the printer calibrate itself. Took me about 45 minutes the first time, but now I can do it in 15. What’s really cool is that it comes with starter filament, so you can jump right into printing. The enclosed design is a game-changer too – it’s got this activated carbon filter and temperature regulation system that keeps everything running smooth.

One time, I was trying to print this complex geometric planter and messed up the settings, resulting in spaghetti everywhere. Total disaster. The nozzle kept clogging. But here’s where the P1S really shines – it’s got this built-in camera for monitoring prints, and the printer actually tells you what’s wrong and points you to a guide. That experience taught me the importance of proper calibration and checking settings for different filaments.
Speaking of filaments, the AMS (Advanced Material System) units are incredible for home decor projects. You can connect up to four of them, each with its own tube. This means you can easily switch between colors or materials for different parts of your decor pieces. The units are enclosed too, which keeps moisture away from your filament – super important for quality prints.
I’ve made some really cool wall art and organizers that fit my oddly-shaped desk. The speed is impressive, and the printer’s stability means fewer failed prints. I even printed these awesome Bambu badges and custom storage solutions for my craft supplies. If you’re looking for a printer that can handle ambitious home decor projects, the P1S should definitely be on your radar. It ain’t cheap, but it’s incredibly reliable. The learning curve might seem steep, but the printer practically holds your hand through the process. Once you get the hang of it, you’ll be printing masterpieces like it’s nothing, from intricate wall hangings to custom storage solutions that actually match your decor.
Creality Ender 3 V3 SE: The Budget-Friendly Decor Creator
Okay, now let’s switch gears and talk about the Creality Ender 3 V3 SE. This is a printer that I feel like a lot of people should start with, especially if you’re getting into 3D printing home decor on a budget. I remember when I was starting out, I was super broke, and the Ender 3 series was a godsend. What’s cool about this latest version is how much they’ve improved it – it comes with automatic mesh bed leveling and a direct drive extruder, which are game-changers for beginners.
Setting it up is way easier than the original Ender 3. You get everything nicely packed in foam, and the manual actually makes sense now. It took me about 15 minutes to assemble, compared to the hour-long puzzle that was the original. The print volume is still 220 x 220 x 250 mm, which is perfect for most home decor projects. They’ve added this nice color screen with a click wheel interface – not fancy touchscreen stuff, but honestly, it works better.
I’ve had some interesting experiences with it. Once tried to print this fancy geometric lampshade, and the supports went completely haywire, resulting in this leaning monstrosity that I keep on my shelf as a reminder. But that’s what’s great about this printer – it teaches you the basics. I learned how important support settings are, and how to tweak them in the slicer software. The print quality is actually impressive once you get it dialed in, especially with PLA prints.
One thing to note – the magnetic print surface they include sticks way too much. For PLA, you’ll want to drop your bed temps to 40°C. If you’re planning to print TPU for flexible decorative items, definitely grab some glue stick, or better yet, invest in a PEI spring steel sheet as your first upgrade. The direct drive setup makes printing TPU much easier than on older models, and you can even print at decent speeds.

For $199, this printer is a solid choice for getting into 3D printed home decor. Sure, there are fancier options like the Sovol S7 or the Bambu Lab A1 Mini if you can spend more, but the Ender 3 V3 SE is a capable workhorse that won’t break the bank. You might need to tinker a bit to get perfect results, but that’s part of the learning experience. Plus, with the improved features like the belt-driven Z-axis and linear rods for the bed, you’re getting a much more reliable machine than the original Ender 3.
Prusa MK4S: Precision and Reliability for Home Accents
Moving on, let’s talk about the Prusa MK4S. Oh man, this printer is like the gold standard, and there’s a good reason for that. When I first used one, I was amazed at how consistent and precise it is. We’re talking about seriously impressive quality right out of the box – no tweaking needed. The first thing I printed was a bunch of intricate geometric coasters, and they came out perfectly on the first try. It’s got a build volume of 250x210x220mm, which is slightly smaller than some competitors, but the quality makes up for it.
The attention to detail starts right from unboxing – everything’s perfectly packed, and if you get the assembled version like I did, it’s literally just plug and play. The setup process is second to none – just clip on the filament holder, attach the guide, and you’re ready to go. The quality control is impressive too – each printer comes with its own test print and QA documentation, so you know it’s been thoroughly checked before reaching you.

I remember one time, I was trying to print this multi-part wall sconce, and it went off without a hitch. With other machines, I usually battle warping and layer adhesion issues, but the Prusa MK4S handled it perfectly. The new 360° fan on the hot end makes a huge difference with cooling, which means you can print these amazing overhangs – we’re talking 75° angles here. This translates to better bridging and cleaner decorative prints. The base layers come out perfect, the walls are precise, and external seams? Almost invisible.
Sure, it’s not cheap, but you get what you pay for. The components are top-quality, and here’s something cool – if they release upgrades down the line, you can actually upgrade your printer instead of buying a new one. Plus, their slicer software is fantastic – it’s so good that other brands have based their software on it. The interface might be a bit techy, but it gives you incredible control over your prints.
While some printers hide everything in fancy enclosures, Prusa takes pride in showing their 3D-printed parts – they literally use their own printers to make parts for new printers. That’s how confident they are in their quality. If you’re serious about creating high-quality, detailed home accents and don’t mind investing in a premium machine, the Prusa MK4S is worth every penny. The results truly speak for themselves – you can throw any decorative print at it, and it’ll handle it like a champ.
BambuLab A1 Combo: Compact Powerhouses for Decor
Okay, so next up are the BambuLab A1 Combo. This is a really cool printer that pack a serious punch in a compact package! I got the mini first as a space saver, but it performed so well, I had to grab the full combo version. At $399 for the A1 alone and $559 with the multi-color system, these machines offer incredible value. The A1 gives you a generous 256mm cube build volume – almost triple what the Mini offers – which is perfect for most home decor projects.
The setup is surprisingly straightforward – you’ll be up and running in under 30 minutes. What really impressed me was using these for small decorative pieces. One time I printed a bunch of tiny succulents in different colored pots for my desk using the AMS Lite system. The multi-color capability is a game-changer for home decor – you can print items in up to 4 different colors without manually switching filaments. Sure, there’s some waste from color purging, but the results are worth it.

These printers are seriously fast and precise, thanks to their automatic input shaping and pressure advance calibration. The direct extruder print head includes a filament cutter and smart force gauge that ensures perfect first layers every time. I love the second-generation textured PEI sheets – they give prints this gorgeous bottom texture and stick perfectly to PLA. Speaking of materials, while the bed only heats to 80°C (limiting you mainly to PLA, PETG, and TPU), these are perfect for decorative prints.
The ecosystem really shines for beginners – Bambu Studio, their slicer software, works beautifully with preset profiles that just work. You can connect via WiFi and control everything through their app, though the built-in camera is more of a gimmick than truly useful. The print quality is exceptional – smooth surfaces, clean overhangs, and great detail reproduction. Plus, they’re surprisingly quiet during operation thanks to their Active Motor Noise-canceling technology.
For anyone in a small apartment wanting to create beautiful home decor pieces without sacrificing living space, these machines are perfect. Don’t let their compact size fool you – they’re capable of some amazing prints. If you’re mainly working with PLA and PETG for decorative items, and want something that just works without constant tinkering, the A1 series should be high on your list. Whether you go for the Mini or full-size A1 really just depends on your space constraints and the size of pieces you want to print.
Anycubic Kobra 3 Combo: Versatility for Diverse Decor Styles
Now, I gotta be honest, I had some reservations about Anycubic printers in the past. It’s not that they were bad, just… okay. And for me, when I’m looking for new tech, “okay” isn’t enough. The older Cobras were budget-friendly, but the software and hardware weren’t that easy to use, which, for beginner targeted machines, is a bit of a head scratcher. Other companies had really pushed the envelope. But the Kobra 3 is different, it’s a game changer for Anycubic, putting them above the crowd of entry-level machines. It’s definitely worth considering for your next printer. The setup was actually incredible. Most of it was already built right out of the box; I just needed to attach the hotend, control screen, and the Anycubic Color Engine (ACE). The hot-end installation was surprisingly easy and the orange silicone sleeves on the cables were a nice touch. It feels like they’re stepping up their game.

I remember experimenting with some vase-like shapes using a wood-filled filament. The organic look it gave was so cool! Then, I switched gears and printed some modern, geometric shapes with a carbon fiber infused filament and the results were amazing. It really showed me how versatile the Kobra 3 Combo is for a variety of projects. If you’re the type who likes to mix things up and experiment, this machine is for you. It handles a variety of materials and designs really well. So, if you’re looking for a 3D printer that can handle whatever creative decor ideas you have, this is definitely a strong contender! Plus, it’s pretty easy to set up and has been pretty reliable, which makes it a great option for a lot of people.

The prints were generally good, but some under extrusion was noted, which is surprising given that it’s their own filament on their own printer; adjustments to slicer settings could improve this, though most users prefer not to tweak settings. A multicolor print showed similar under extrusion on the edges and produced a lot of waste, with no clear settings in the slicer to mitigate this. However, loading filament into the ACE is very convenient, as it automatically pulls in the filament and can handle multiple spools. The ACE also functions as a filament dryer when connected to the Kobra printer, but requires manual preheating before each print, which could be improved with automated preheating.
Conclusion
Okay, so we’ve covered a lot about choosing the right 3D printer for functional home decor. I know it can be overwhelming but trust me, it’s worth it when you get to see your designs come to life. From my personal experience, the key is to find a printer that fits your budget, experience level, and the types of projects you want to create. Each of the printers that I’ve talked about has its own unique strengths, so do some research and find the one that works best for you! Remember to always be mindful of safety when working with 3D printers. You also want to make sure that you dispose of your filament properly and always try to print with eco-friendly materials. I always encourage people to share what they’re working on, it’s great to see all the different things that can be made. So, if you have any questions or if you’re working on a new design that you’d like to share, feel free to leave a comment! Happy Printing!